Prices for the Hondata seemed to be in the $600+ range and what I would end up with is a 30 year old ECU. I came across this video which made a solid case for using a Haltech 550 over the Hondata. “But you didn’t buy a 550, you bought a 1500,” I can hear you say. Well I was looking for a good price for a 550 and had pretty much assumed I wasn’t going to do better than retail at around $850. Then came Black Friday and oh deal of deals: the 550 was around $650. How could I pass that up? So all prepared to order my 550, I talked to Shawn (maybe? It was Facebook Messenger) at Tuned by Shawn and he convinced me to go for the 1500 because it would add knock sense and extra levels of engine protection. Thankfully the 1500 was also on sale so although it busted the budget I had set for an ECU, I still saved about $400. But now I have to go through the extra steps of wiring a more universal ECU which I’m expecting to prove…questionable.
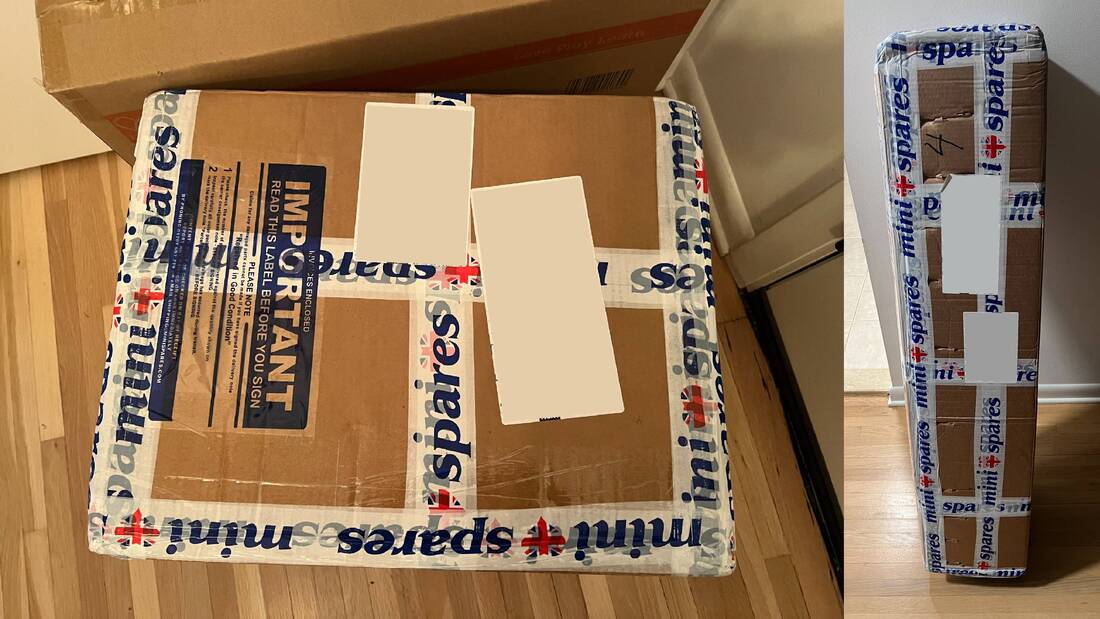
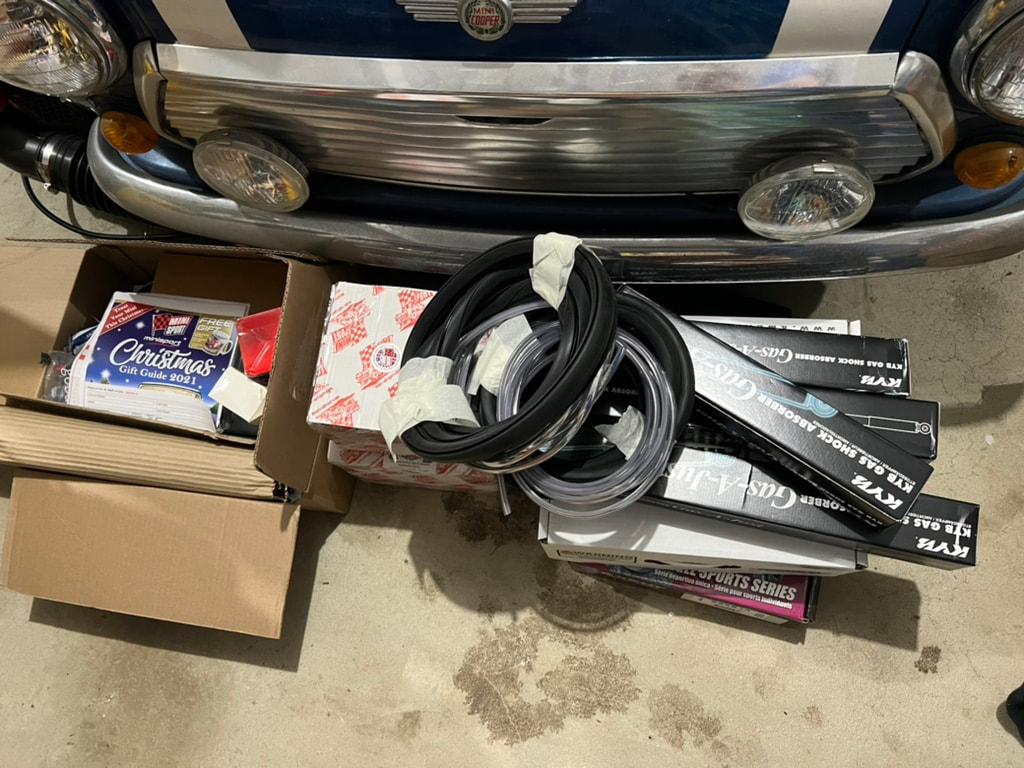
More and more packages are starting to arrive including one of my more questionable choices: 
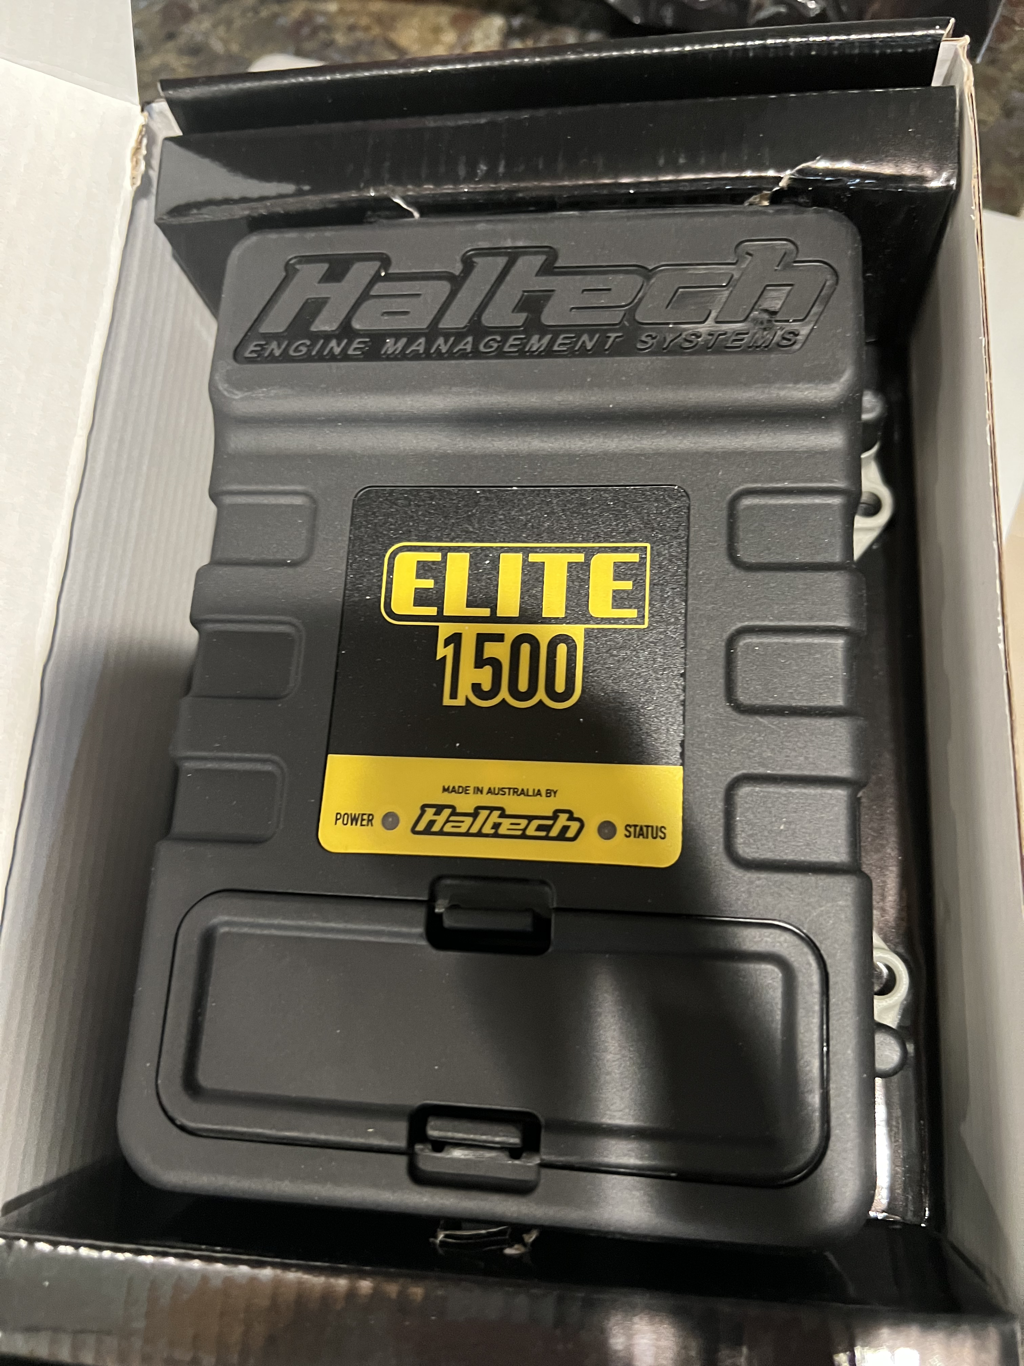
Now I say this is one of my more questionable purchases not because it’s not an excellent product; quite the opposite in fact. This may be one of the most sophisticated pieces of equipment ever to grace a 4 decade old vehicle. It’s questionable for exactly this reason. Likely the most common ECU for a Honda engine is the Hondata. Not only does it piggy back off the standard ECU so it’s pretty plug and play, but there is lots of support for it because it’s made for Honda engines. So why rock the boat?
Prices for the Hondata seemed to be in the $600+ range and what I would end up with is a 30 year old ECU. I came across this video which made a solid case for using a Haltech 550 over the Hondata. “But you didn’t buy a 550, you bought a 1500,” I can hear you say. Well I was looking for a good price for a 550 and had pretty much assumed I wasn’t going to do better than retail at around $850. Then came Black Friday and oh deal of deals: the 550 was around $650. How could I pass that up? So all prepared to order my 550, I talked to Shawn (maybe? It was Facebook Messenger) at Tuned by Shawn and he convinced me to go for the 1500 because it would add knock sense and extra levels of engine protection. Thankfully the 1500 was also on sale so although it busted the budget I had set for an ECU, I still saved about $400. But now I have to go through the extra steps of wiring a more universal ECU which I’m expecting to prove…questionable.
0 Comments
Happy 2022 which is feeling an awful lot like 2021. But putting that aside, I'd like to talk about the mountains of parts that I'm stacking up. I've accumulated quite a large number of boxes filled with goodies from Mini Sport, Mini Spares, SpeedHut and others. I ran a price comparison for all the major suppliers in the US and UK including Mini Mania and 7 Enterprises and found that with the exchange rate and prices, Mini Sport and Mini Mania were the cheapest for these orders and probably saved well over $1,000. There's also more boxes on the way with parts from Haltech and SMCO. I've also gotten some of my conversion parts from MCM but there's still a few more pieces to arrive. So what do I have? I think the biggest and most important piece is the engine! The engine I've gone with is a D16Y8 from a 2000 Honda Civic EX. This should provide around 120hp. It might get a bit more from the intake and exhaust along with the tune. I suppose the next big piece of the puzzle is my MCM subframe. This will slot into the front end (after some minor surgery) and provide a home for my new D16. It's currently in raw metal and I'm going to send it off for powder coating along with the rear subframe and roll cage. My intake is from MCM and it is bespoke for the Mini conversion. There were a couple companies that make intakes for the Classic Mini including Potential Motorsport in the UK and Gildred Racing in California. If I'm honest, I kind of prefer the looks of these intakes as they are not so boxy and maintain and stock look. The price, however, is quite large and in the end, I decided to stick with the MCM intake since they fabricated my kit and will hopefully be able to provide support during installation if needed. I've received a few more large boxes in the mail which included a number of necessary parts for the swap and then some parts that I'm going to use to upgrade my Mini while doing the swap. The list includes:
I splashed out on a set of aluminum 4 piston calipers in Orange during Mini Sport's Black Friday sale. Orange is my oldest son's favorite color and I figured it was a bit more exciting than going with silver, grey, black or red and shouldn't clash too badly with the blue. I'm pretty excited about these too. This was another Black Friday special that I ordered from SpeedHut. They are sized so they should fit in a triple clock dashboard (something I still need to find). They are a silvery background with blue lighting at night. I'm also pretty excited about this. I pulled my shift linkage out of a car in a Pick-N-Pull in Virigia and ordered this from Aliexpress. It's a Civic Type-R knockoff and I'm blown away by the quality given the price I paid (under $2!). It's nicely machined and feels quite heavy in your hand. I don't know how it could be made for that price.
So what am I still waiting on? There's a couple big items that I have ordered but still waiting on such as my headers, engine mounts, alternator, CV joints and axels and ECU. Then there are the things that I still need to buy like the transmission, fuel line, throttle body, seats, dashboard, flywheel bolts and clutch bolts. I'm sure there are more things that I'm forgetting but I'll just have to order those as I go. Next step is to stop shopping and start wrenching. Tune Time! I received a box today containing some pieces I plan put to good use this weekend. I got a new wiper motor strap which is purely cosmetic, but I think it will help tidy the engine bay up. I want to clean up that motor and I think a new strap will help complete the look.
The more important bits are a new distributor cap, a new rotor and a carb refurb kit. I'm hoping to do a smalll overhaul this weekend. I'm not sure if the distributor cap or rotor are in bad condition, but I figured the parts are cheap enough that I might as well replace them to make sure I'm getting a nice clean spark. I will probably also be replacing the coil as well. The part I am most anxious to use is the refurb kit. I plan on making a tutorial when it's all installed and I hope it makes the whole car run a lot smoother. Time will tell. I have returned home from a long overdue vacation. I was lucky enough to spend 6 days in Ireland and a further 3 in London. I had an amazing time, but as is the case with every time I travel to this part of the world, I see fewer and fewer classic Minis on the road. On my trip to England in 2011, I probably saw about 10. I am saddened to say that I only saw two! I will probably visit England again in a couple years and on that trip I will try and have it coincide with a major Mini Show. I will have plenty of photos to share when that finally happens.
Since most visitors to my blog probably won't care about the rest of my trip, I'll just talk about the important parts. Of the two minis I saw, I was only able to photograph one. It was a lovely red sportspack style model. The other mini was a more subdued blue model with the bumper guards I saw on every Mini in Paris a few years ago. My other Mini related adventure was the purchase of some cheap English parts! As you may or may not remember I tried to turn my wheels recently and discovered that they rub on the fenders. While in London, I picked up a package containing 4 used, genuine Sportspack arches. I'm super excited to get these on the car I'm about to embark on a 10 day trip to the Ireland and England, but before I left, I took a short road trip down the eastern US. I found a gentleman selling a used roll cage. These don't pop up too often and since the price was right, I grabbed a friend and we took a trip. After one very long day, we finished the 1700 mile trip and I am now the proud owner of roll cage. I will post a photo when I return, but there is much to do before my trip!
Over a year ago I took note of a product by a company called Minivation. They designed an articulated bonnet hinge that allowed you to fully open the bonnet while working on it. I was very intrigued with the product and added to my wish list.
My most recent projects have included new manifold studs, a new fuel filter, cleaning the firewall and a new fan belt. All these require long hours digging in the engine bay and after crouching in awkward angles, banging my head on the hood and generally finding the hood to be a nuisance, I ordered myself a set of these hinges. Initial impressions are very good. They seem very sturdy and the polished finish is sure to add a little bling to my engine bay. Now I just need a helper so I can get these installed! I finally received the second package I've been waiting for. The first arrived on Friday and contained all the parts I need to finish installing the exhaust. I have had my muffler, headers and mid-pipe sitting in a box for over a year. I have finally ordered the remaining little pieces. The plan is to install the whole kit in a week or so. Progress will be posted.
My second package was something I have been trying to track down for a while. Thanks to some fortuitous timing and a helpful eBay seller, I have received the 2 pieces to my 7 piece collection. I now own the entire KYMA collection. I'm not sure it was worth all the effort, but I'm happy to have it none the less. Well as is the way with my Mini, progress does not come easy. After deciding that I won't be able to complete shimming my ball joints with the shims that I have, I decided a call to 7 was in order. I have received a large box with some new parts. First was my shims, but I also got new bearing seals, a set of track rod ends (because both of mine had tears in the boots) So that's the parts, now for the quasi-progress. I decided that removing the tie rods would be a nice easy job. Boy was I wrong... I was able to remove the passenger side with little effort, but the bolt holding the tie rod to the control arm was totally seized. I tried spraying the hell out of it with PB Blaster and using the breaker bar, but I just ended up rounding off the top of the bolt. It seems heat is the answer. A minute or so with the propane torch and I finally freed the stuck bolt. Now I just need to install the new rods.
As promised, here are pictures of my excellent purchase from Britfest. They're a set of 12x6 Superlight style wheels with Falken tires! I'm very excited to get these on the car. Only problem is that I will probably need spacers, need lug nuts and new arches now!
|
Archives
January 2022
Categories
All
|