replace your ball joints
While replacing my brakes, I took it as an opportunity to replace my ball joints as well.
Note: It goes without saying but I'm going to say it anyway: Please proceed at your own risk. This tutorial is just for reference and may not include all the steps required. I am not responsible if you injure yourself or damage your car.
Note: It goes without saying but I'm going to say it anyway: Please proceed at your own risk. This tutorial is just for reference and may not include all the steps required. I am not responsible if you injure yourself or damage your car.
tools/parts required
- Torque Wrench
- 1-1/2" Deep Socket - This is to remove the ball joint retaining nut. It must be a deep socket. Most of the Mini parts suppliers sell them, but I found mine at Pep Boys for a reasonable $10
- Breaker Bar - You will need a breaker bar to help you get some extra leverage on some of the bolts. I found a reasonably cheap one at HF tools. Most of their tools are crap, but for $10 and a lifetime warranty, who can argue.
- Floor Jack and Jack stands or a lift
- Penetrating Fluid - I used PB Blaster
- Ball Joint Kits
- General Purpose Lithium Grease
- Valve Grinding Compound
- New Ball Joints
- Optional: Additional Shims - You may not need these but I found the shims in the kit weren't enough, but 7 Enterprises sells some custom extra thick .03" shims that were useful.
removing the old stuff
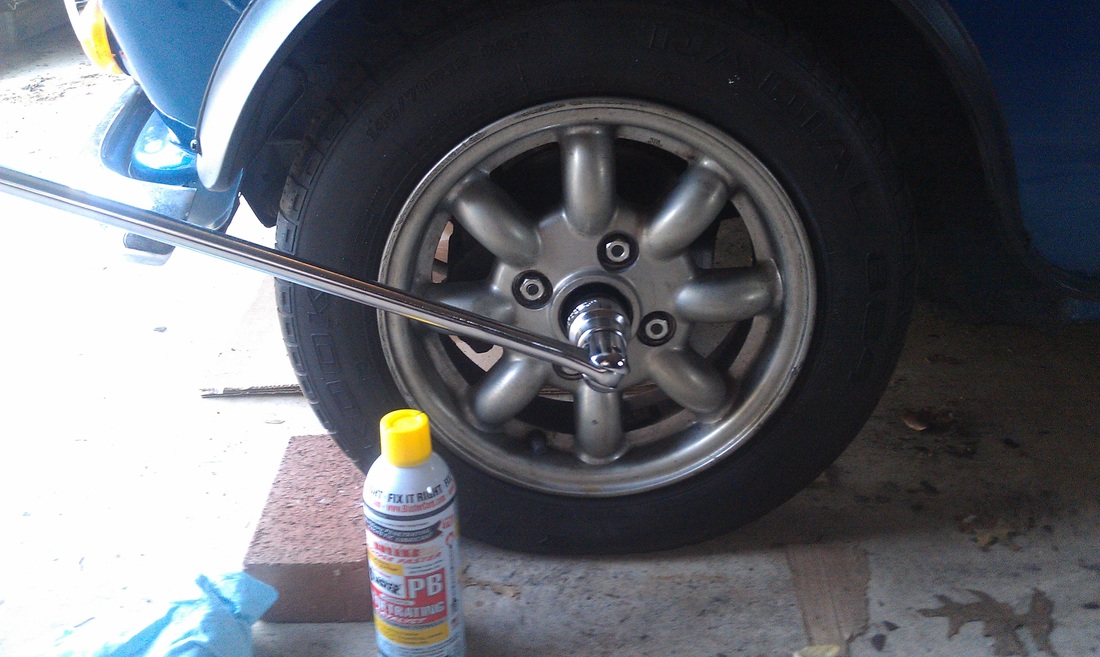
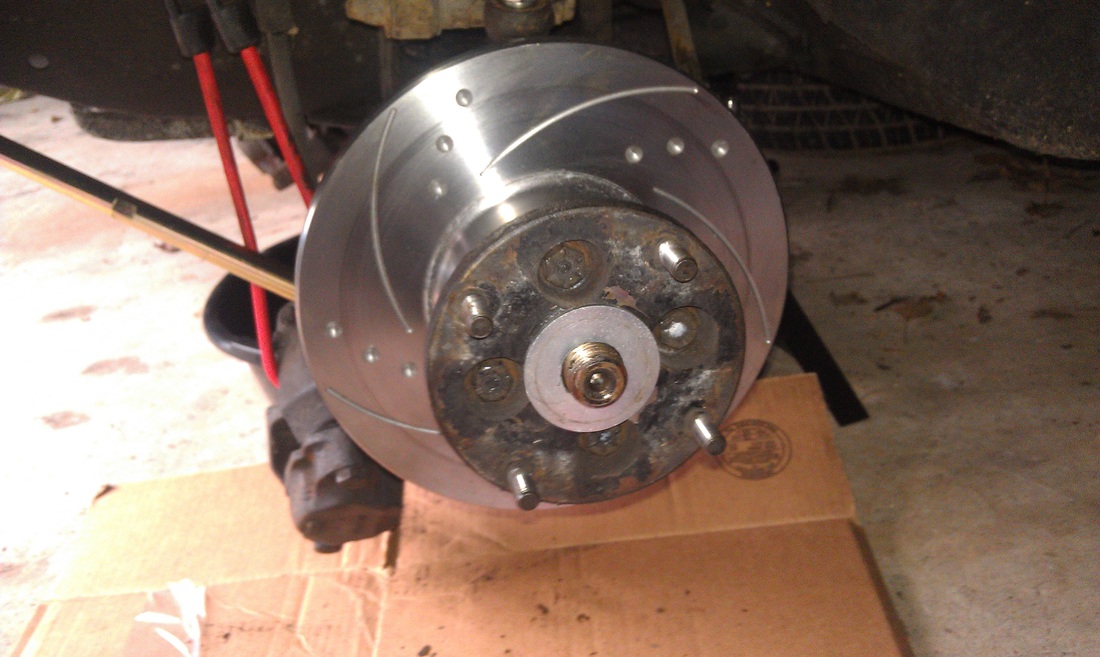
1. The first thing to do is to remove the split pin and the hub nut. This may be the most difficult part. There are a couple schools of thought on the best way to do this. Some say it may be better to remove the caliper first, but those brakes could come in handy. Because the torque required to remove the nut is so immense, you may not want to try and remove it while on stands.
The best way to do it is to remove the center cap from your wheel and loosen the nut while the wheel is still on the car. This allows you to keep the full weight of the car on the wheel and help prevent it from spinning. Make sure the handbrake is on and the car is in gear. If possible, have a friend stamp on the brakes to help. If you have already removed the wheel or the brakes can't be used, find a way to wedge a bar between the wheel studs and the ground to prevent the wheel from turning. Take great care to make sure you don't bend any of the studs. I found at few sprays of PB Blaster penetrating fluid to be immensely helpful.
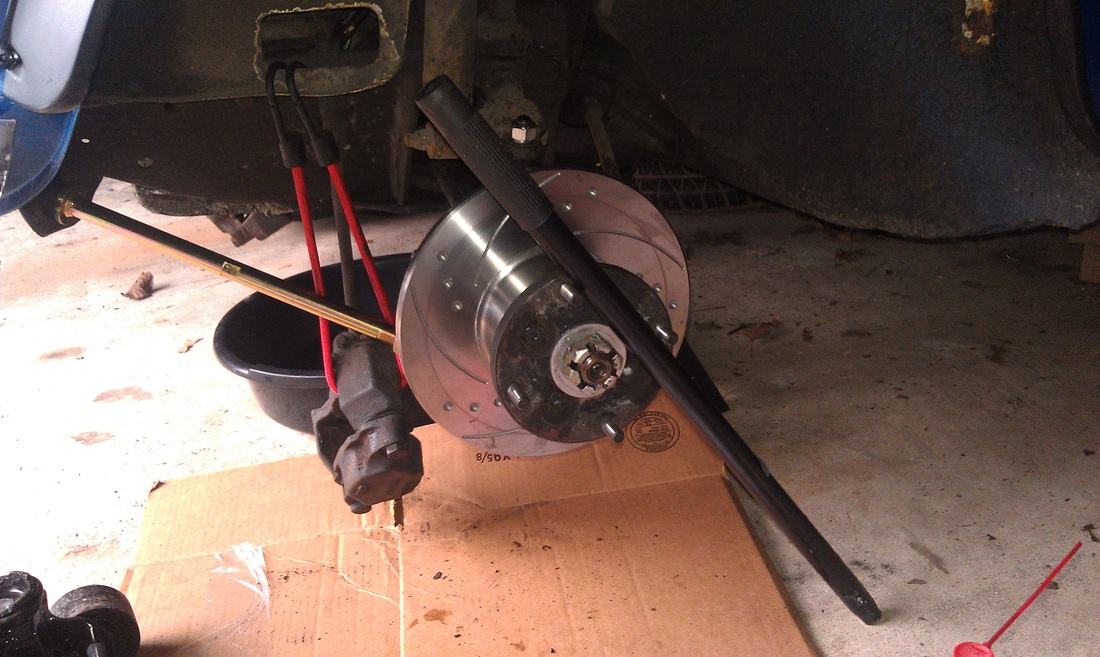
This is where your breaker bar and your 34mm (or 1-5/16") socket becomes useful. If you need additional leverage, you can always try sliding a pole over your breaker bar to increase its length. Don't do what I did and waste a whole day trying to find these items.
The best way to do it is to remove the center cap from your wheel and loosen the nut while the wheel is still on the car. This allows you to keep the full weight of the car on the wheel and help prevent it from spinning. Make sure the handbrake is on and the car is in gear. If possible, have a friend stamp on the brakes to help. If you have already removed the wheel or the brakes can't be used, find a way to wedge a bar between the wheel studs and the ground to prevent the wheel from turning. Take great care to make sure you don't bend any of the studs. I found at few sprays of PB Blaster penetrating fluid to be immensely helpful.
This is where your breaker bar and your 34mm (or 1-5/16") socket becomes useful. If you need additional leverage, you can always try sliding a pole over your breaker bar to increase its length. Don't do what I did and waste a whole day trying to find these items.
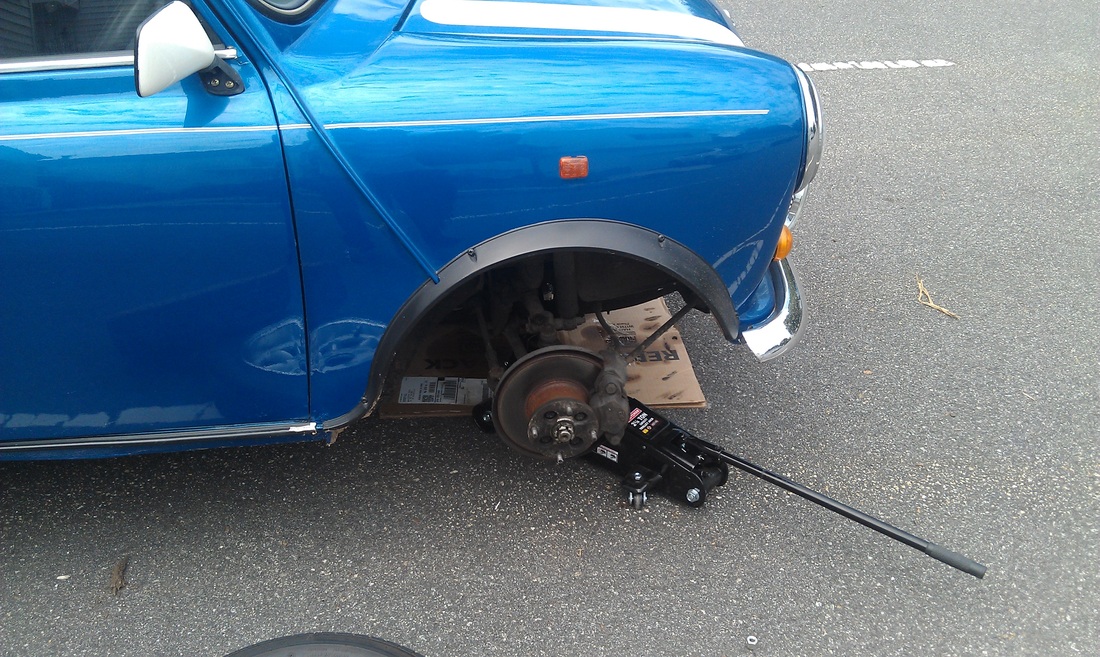
2. After loosening the hub retaining nut, jack the car up and make sure it's secure.
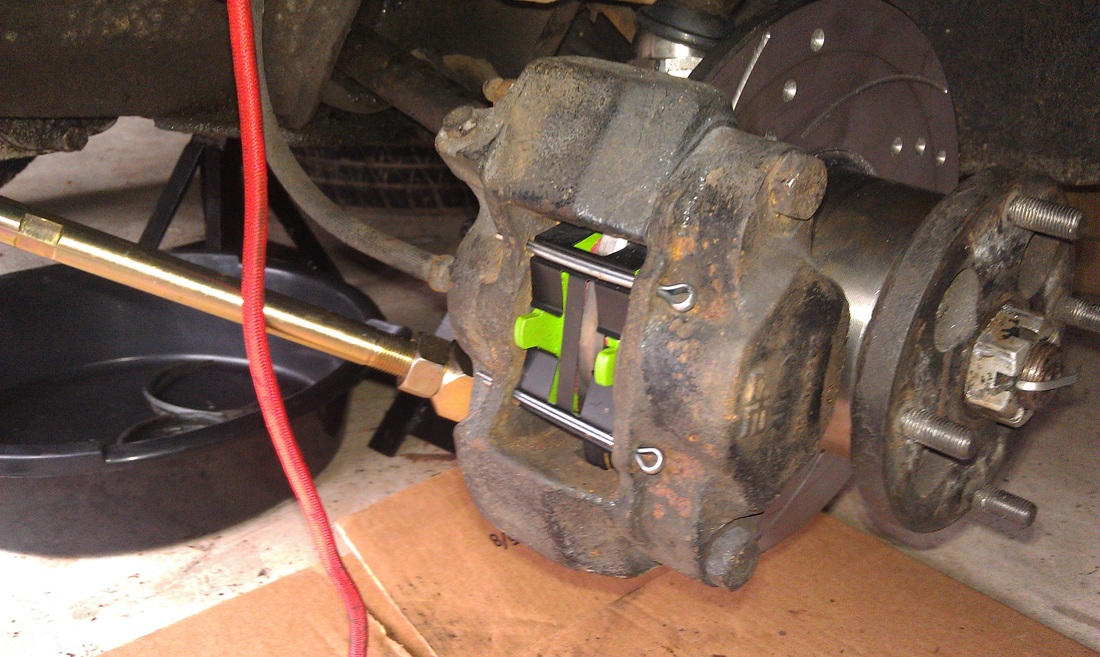
3. Next step is to remove the caliper. First, straighten the two split pins and remove them. This will allow you to remove the pad retaining plate and then the pads. Finally, removing the caliper requires the removal of the two retaining bolts on the back side. It is also useful here to use your breaker bar. After unbolting the caliper, use bungee cords to suspend the caliper from the body ensuring that the brake line isn't being stretched.

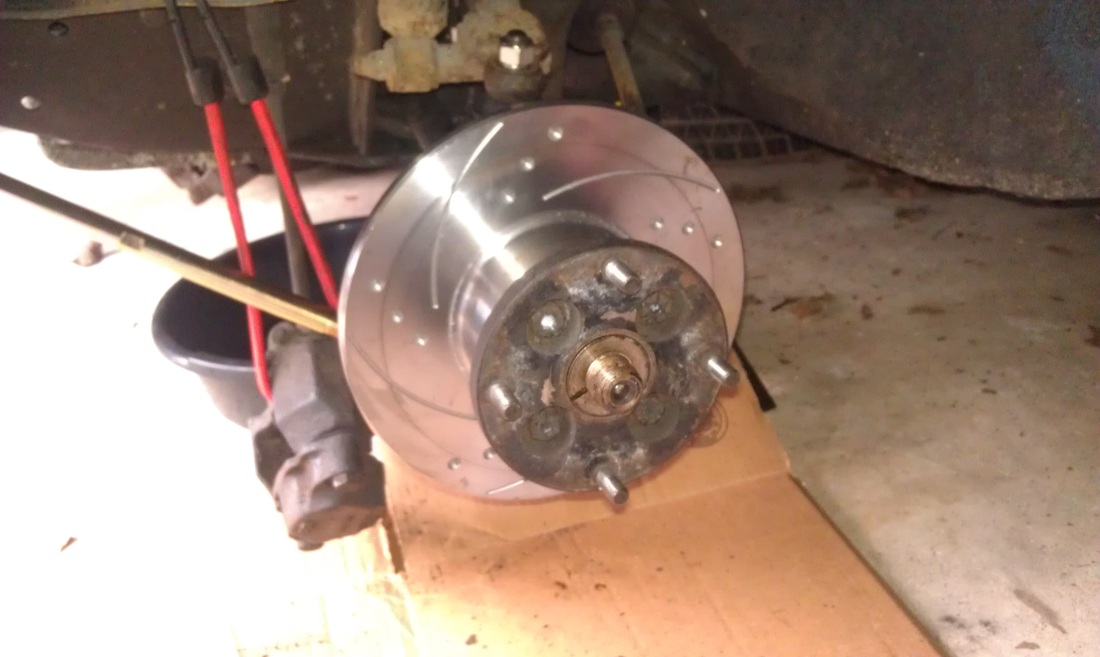
4. Remove the hub nut completely and then remove the tapered washer that it behind it. It's easier to pop out by prying out with a screw driver.
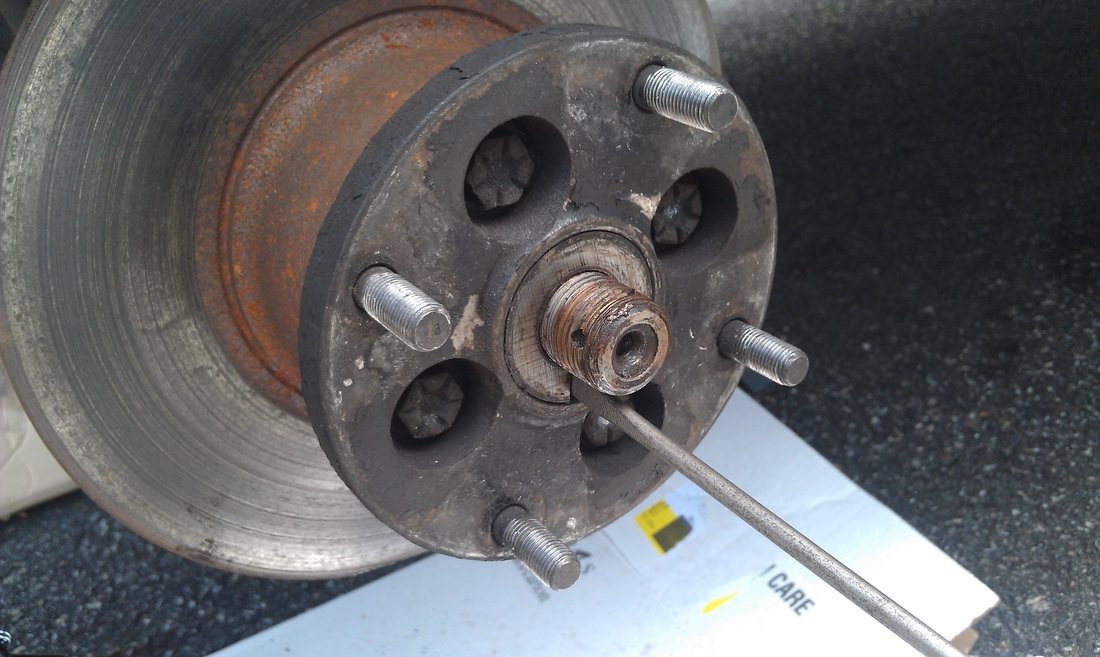
5. As you can see in the photo below, it's very difficult to remove the ball joint domed nut with the swivel hub on the car so the next step is to remove the swivel hub. Besides the top and bottom ball joints, the track rod end ball joint taper also needs to be broken. The best tool to use for this is a ball joint separator. I found a cheap one at Harbor Freight that, while it is cheap Chinese crap, it did the job.
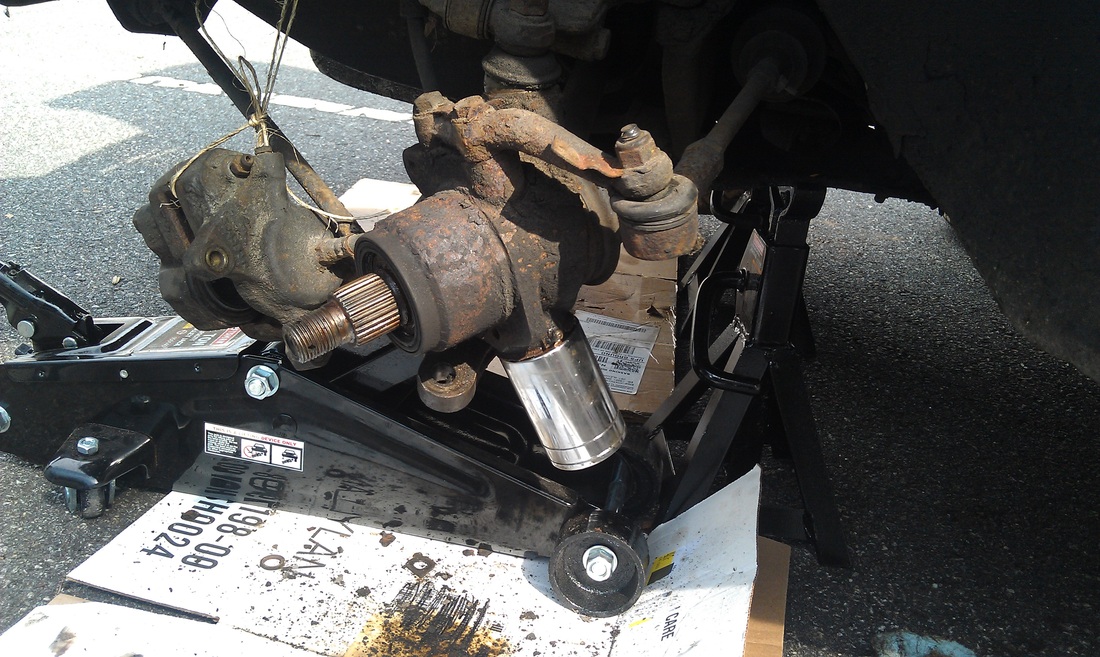
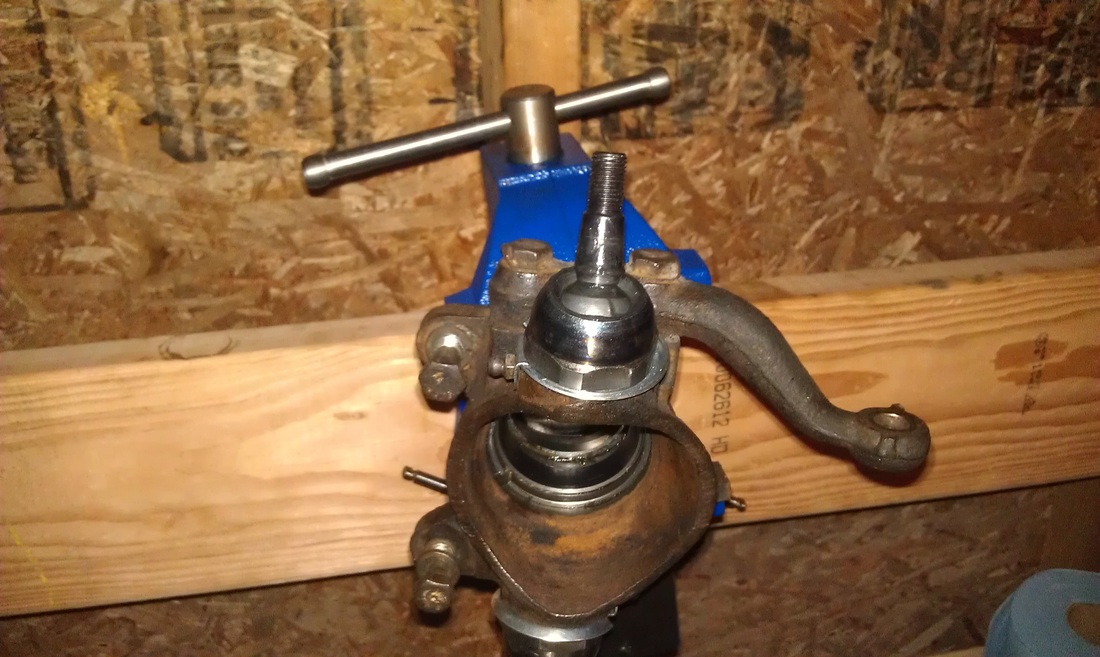
6. Once you have the hub removed, it is best to mount it in a vise as the dome nuts are quick difficult to remove. First you need to flatten the lock washer so it is no longer holding the dome nut in place. Next, you need to loosen the dome nut. After many hours I had to give up and bring them to a local mechanic to loosen. Once loosened, you can remove the old ball joint. You should save you old shims as they could come in handy.
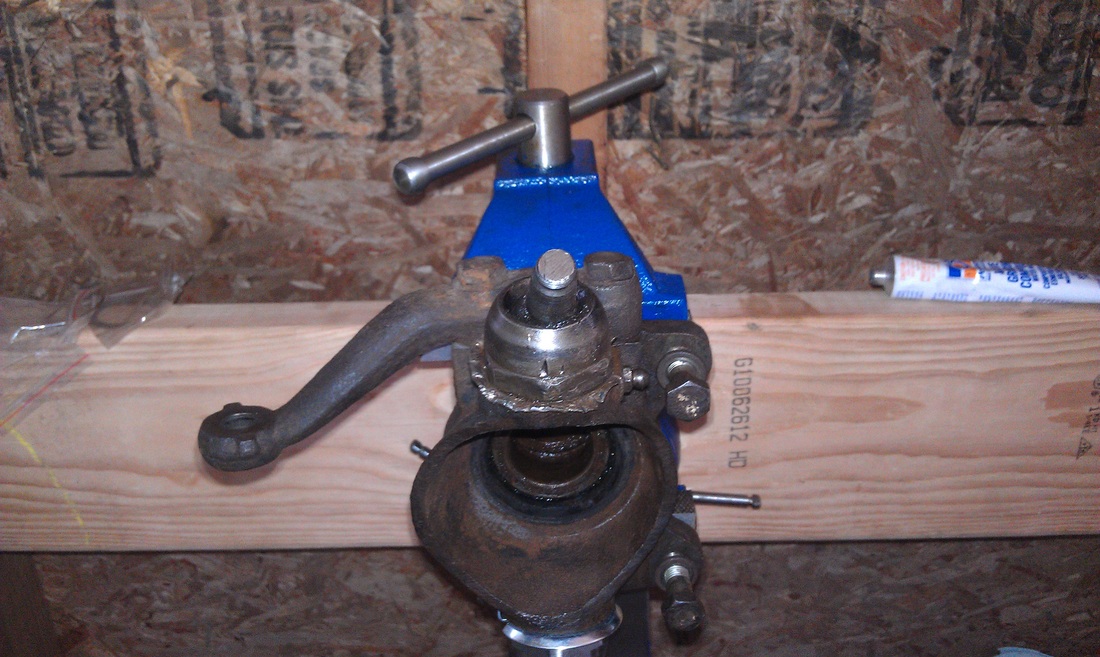
My hub mounted on the vise with the flattened lock washer
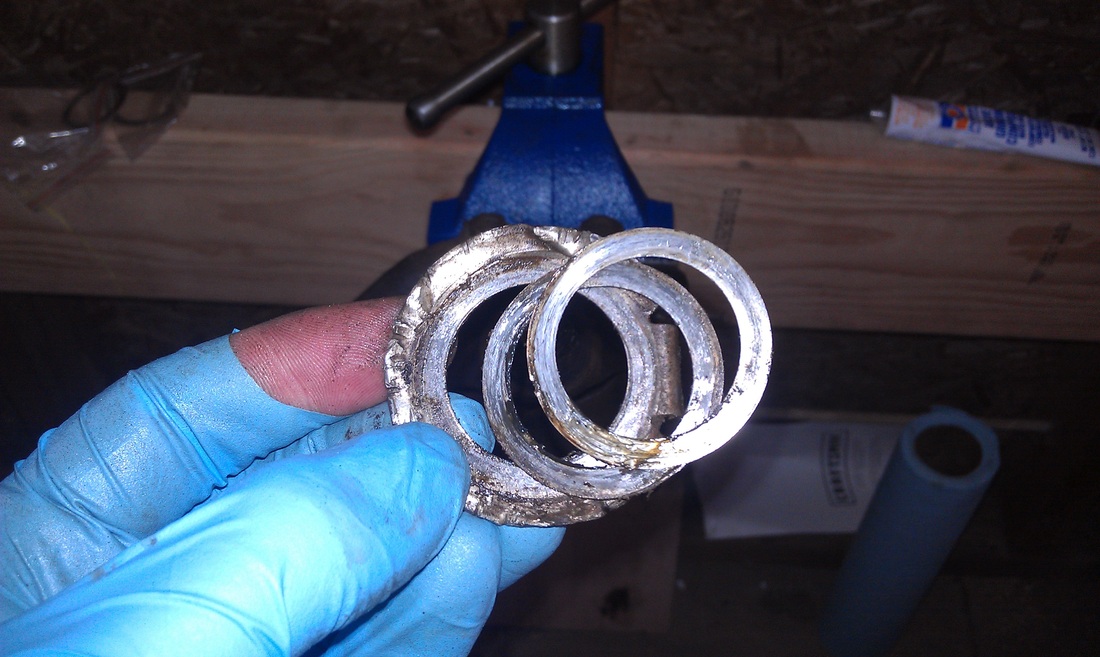
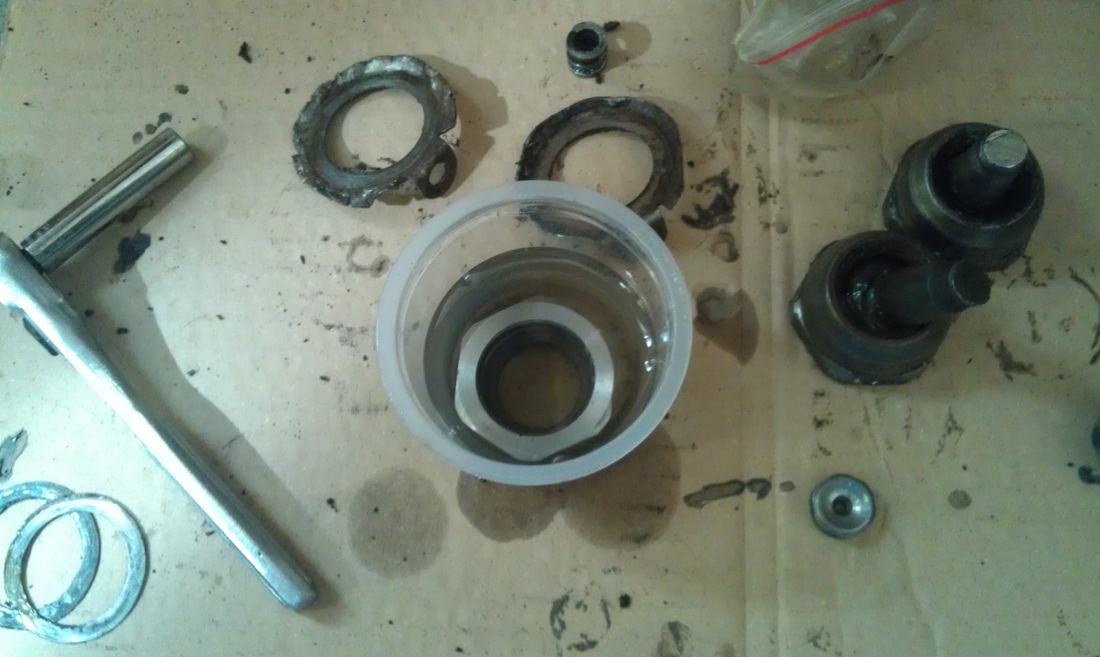
The old shims and lock washer
7. After you have removed all the old hardware and cleaned up the old grease, it is time to start building up the new hardware. Because the new parts a machined and may have some rough edges, it is recommended that you "lap" the mating surfaces. This is achieved by getting some valve lapping compound and smearing some on the mating surfaces on the ball joint seat, the ball joint and the dome nut. Assemble the ball joint and start to tighten the nut. Don't tighten all the way, but enough to provide some resistance. Connect your drill to the ball joint and start spinning. Move in all directions for a couple minutes. This will help smooth all the surfaces.
The valve compound on the ball joint
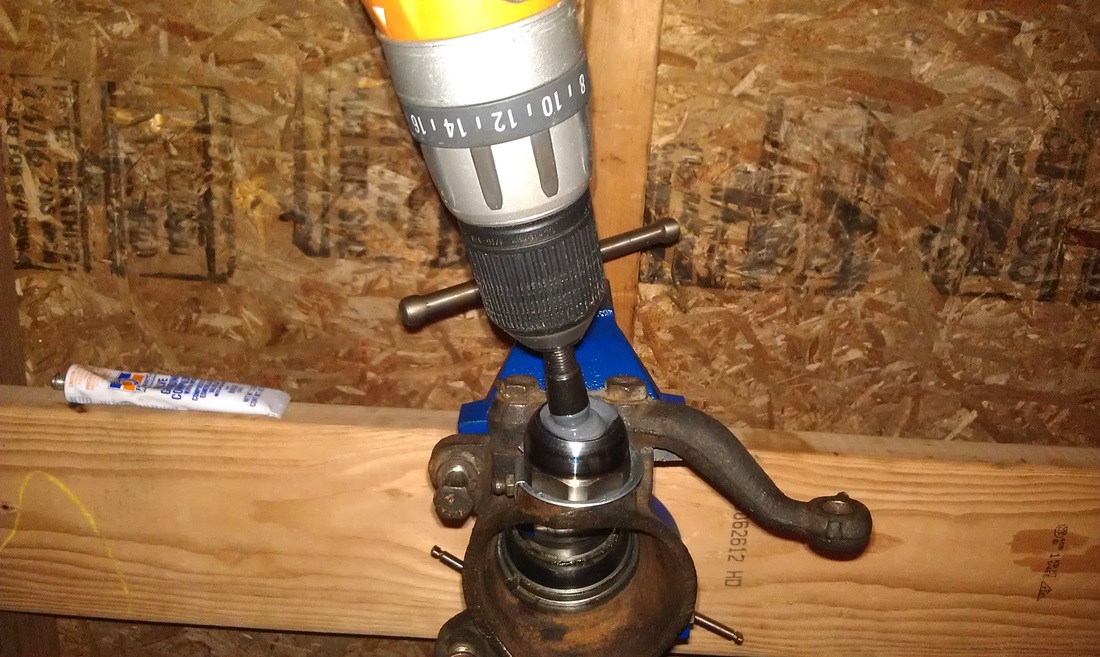
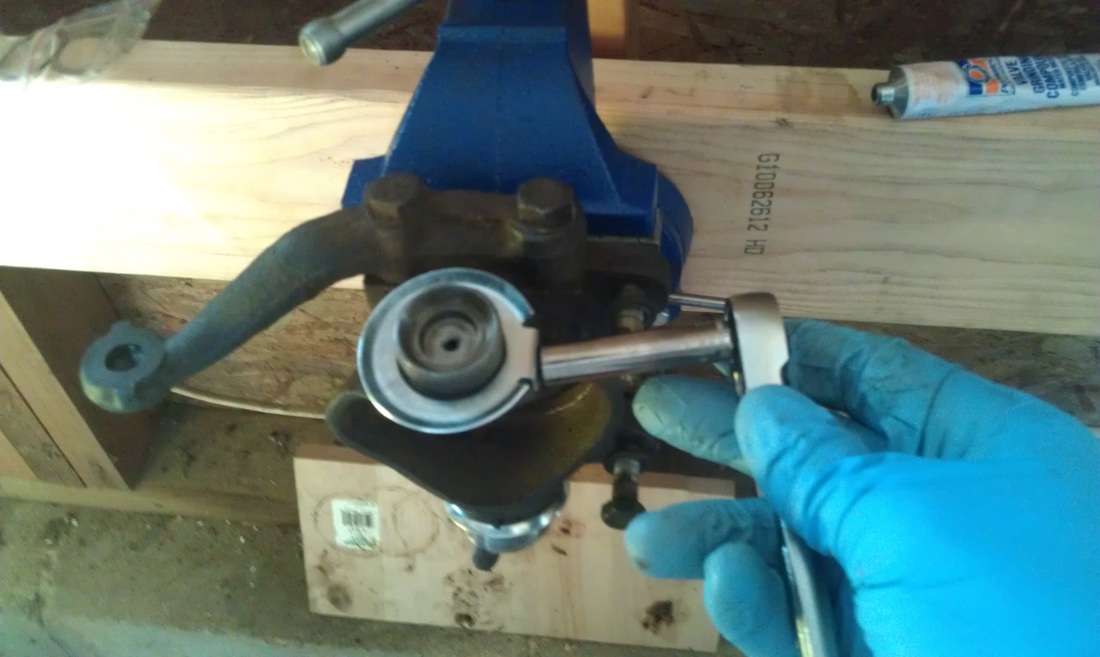
Using a power drill to spin the joint in all directions to properly lap the ball joint

The ball joint and the ball joint seat before lapping
After the lapping. You can see the change in color
8. After you have lapped the ball joint, it's very important that you disassemble the ball joint and remove all the lapping compound. I put the parts into a small container of mineral spirits to help dissolve the remaining compound. I then wiped the hub clean.
9. Now starts the pain staking task of shimming the ball joint. Install the new lock washer and secure in place with the grease nipple.
10. I started by using the old shims and then added or removed shims as necessary. Add shims, add some grease the ball joint, ball seat and dome nut then tighten the dome nut. If the ball joint doesn't move freely then you need to add more shims. If it is too loose, you need to use thinner or fewer shims.
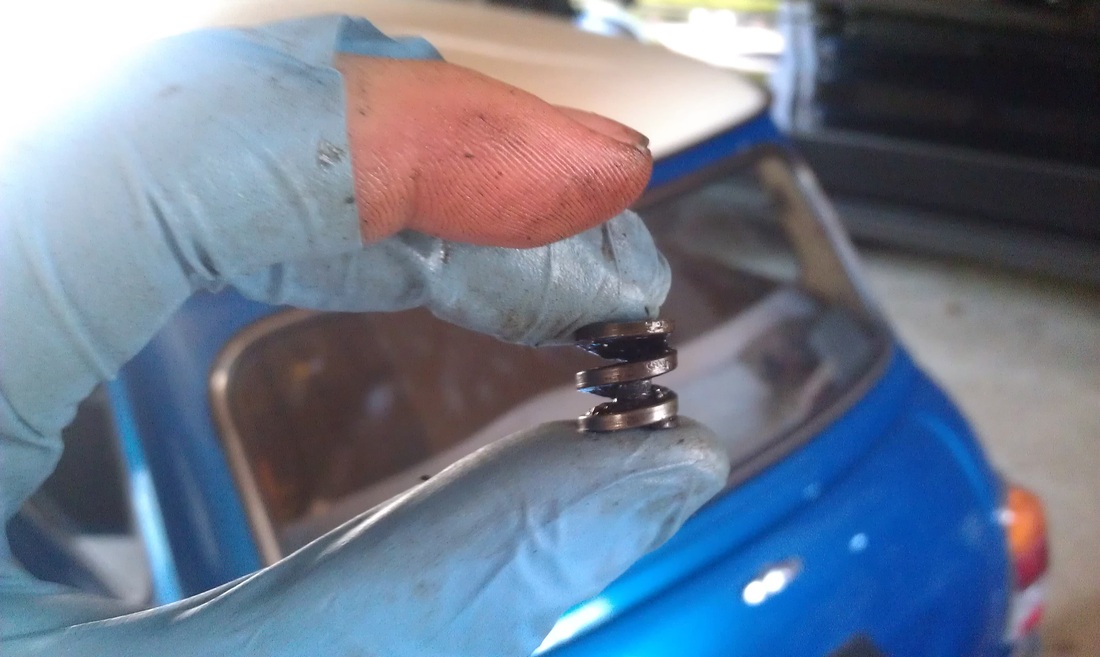
Note: There is a difference between the top and bottom ball joint in that the bottom joint has a small spring that goes under the ball seat. You should do your shimming without the spring installed. Once you have the shims set properly, you can install the spring. The ball joint will be loose without the spring but should be stiff with the spring installed, but not so stiff that you can't move it with your hand.
Note: There is a difference between the top and bottom ball joint in that the bottom joint has a small spring that goes under the ball seat. You should do your shimming without the spring installed. Once you have the shims set properly, you can install the spring. The ball joint will be loose without the spring but should be stiff with the spring installed, but not so stiff that you can't move it with your hand.
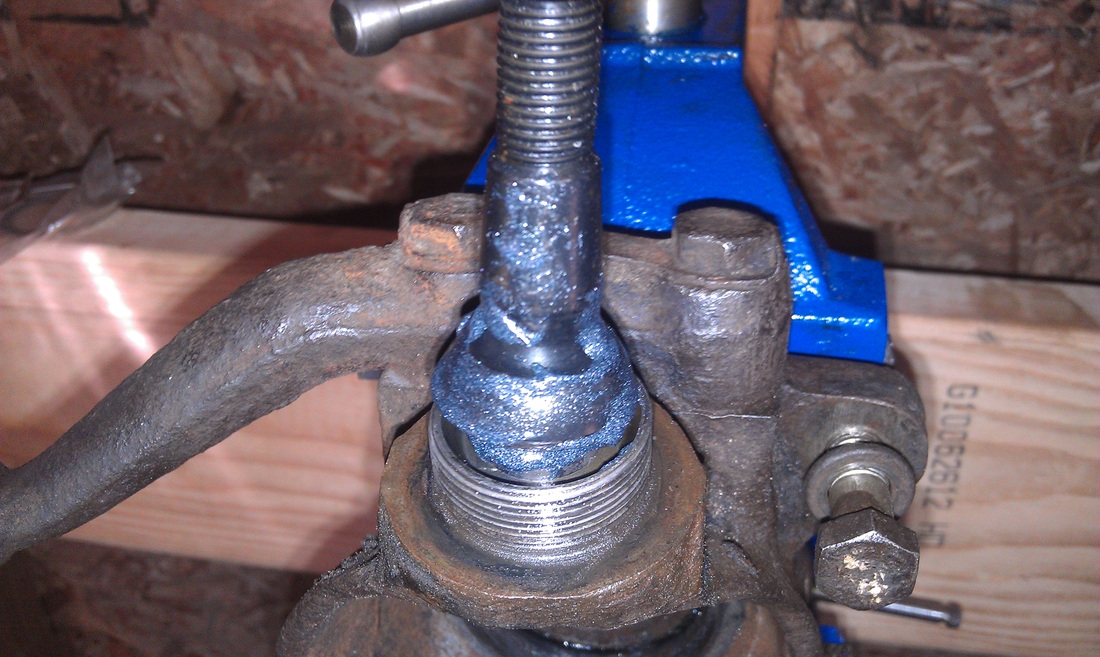
11. Once you are satisfied that you have shimmed the ball joints properly, torque the dome nut to the proper settings as specified by the Haynes manual (I believe it was 75 ft. lb).
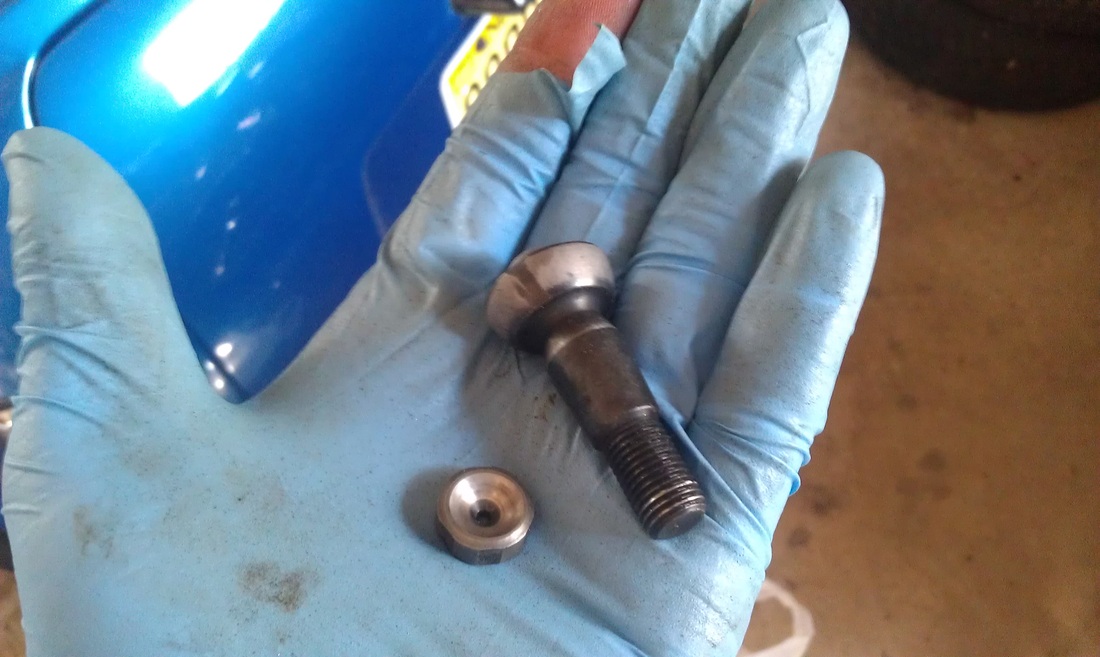
My shiny new ball joint all torqued down
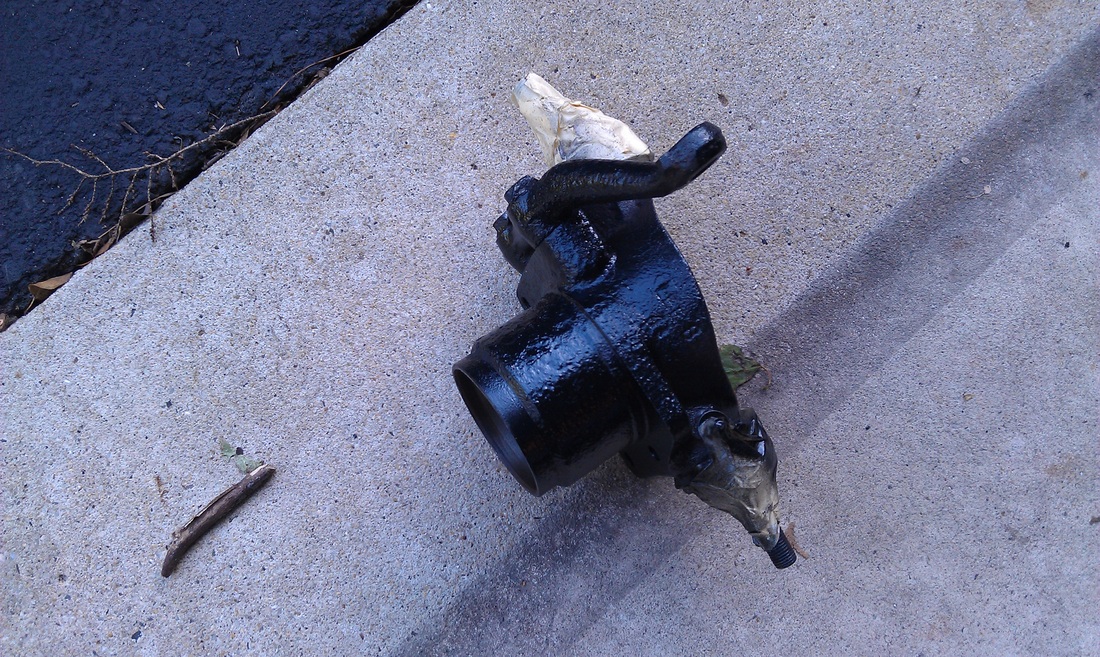
I took this opportunity to throw a coat of paint on my old hub. I brushed off the mountains on dirt and hope that it looks a little nicer.
12. Using a die or punch, secure the dome nut by bending the lock washer into place.
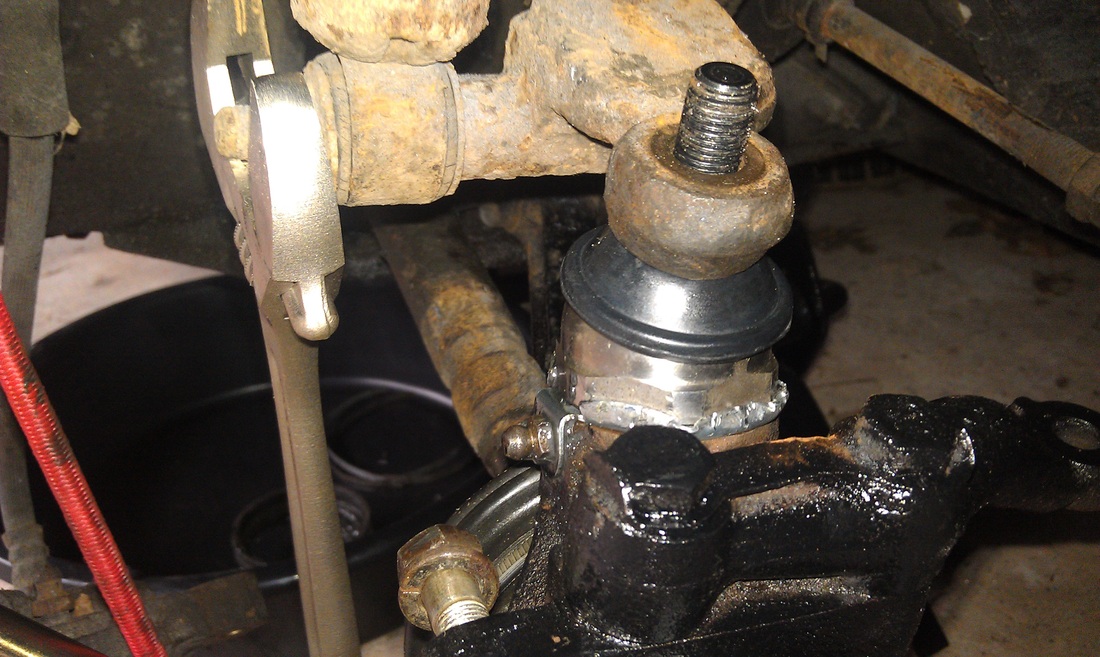
You can see how the lock washer has been bent up against the dome nut
13. Finish greasing the joints by using a grease gun on the grease nipple (you can see it in the picture above) and injecting the grease until it pops out the top.
14. Now it's time to return the hub to the car. It's as "easy" as placing the hub back where it was and securing the ball joint nuts on the top and bottom and the steering tie rod end. It is worth noting that the drive shaft may have slid out slightly so it may need to be pushed back into place to allow the hub to return to its original position. I placed the bottom joint in first and then using a floor jack and an adjustable wrench, I jacked up the upper suspension arm which allowed me to get the top ball joint into place. Then just tighten the top and bottom ball joints and the steering track rod end.
Note: It is very important that the plastic washer that covers the inner wheel bearing seal is not forgotten!
Note: It is very important that the plastic washer that covers the inner wheel bearing seal is not forgotten!

The adjustable wrench is compressing the suspension just enough to get the top ball joint back into place
15. It's now time to tighten the castle nut. It is recommended that you do this twice. The first time it should be done with a flat washer because the tapered washer could bind before the hub is fully seated. I couldn't find a washer that was large enough so I got the largest I could (3/4" inner diameter) and then used a Dremel to grind out the inside a bit.
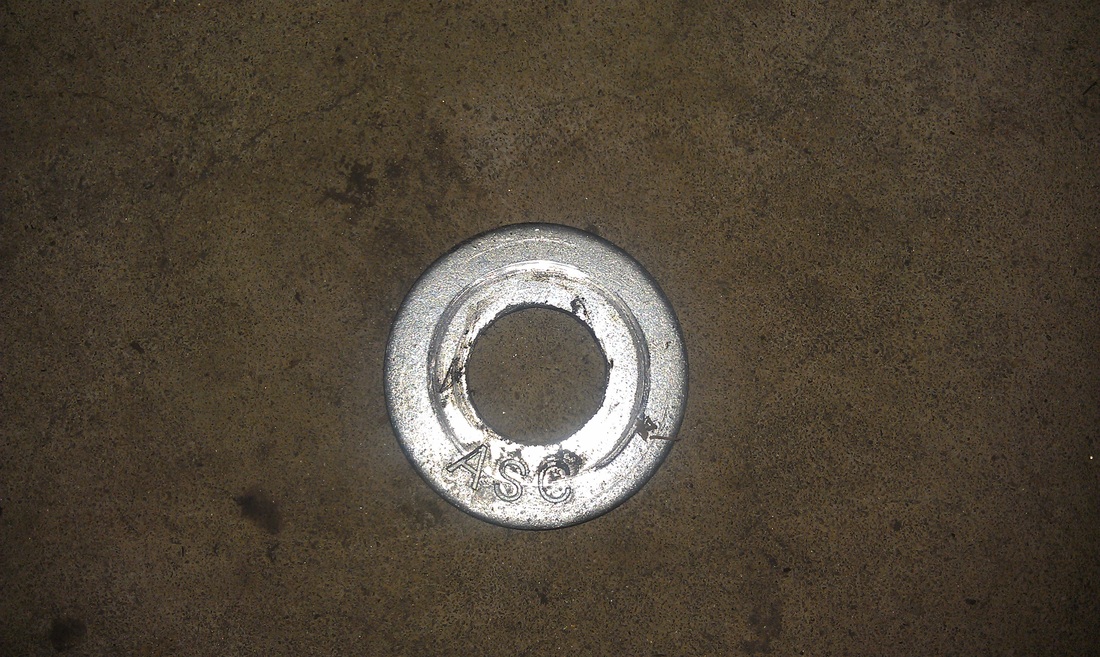
My flat washer
16. Undo the nut and replace the flat washer with the tapered washer. Instead of putting the wheel on, I used a bar to hold the wheel steady. Just be careful not to bend the wheel studs. Again, consult a Haynes manual for the correct torque. Mine was 150 ft-lbs because it has multiple holes for the split pin. After you have reached the correct torque, tighten the nut until you can put the split pin in.
The bar I used to prevent the hub from spinning
Don't forget the tapered washer before you put on the castle nut!
17. Replace the brake caliper on the hub and reinsert the pads and the pad retaining clip and split pins. Lastly, make sure to secure the split pins by bending the ends.
18. Put your wheel back on and go for a drive!
It is also worth revisiting the retaining nuts in a few miles to make sure they haven't loosened. The taper on the ball joints will settle as the car is driven so they will probably need to be re-torqued.
It is also worth revisiting the retaining nuts in a few miles to make sure they haven't loosened. The taper on the ball joints will settle as the car is driven so they will probably need to be re-torqued.
This is an original tutorial from http://classicmini.weebly.com
additional resources
In case my tutorial wasn't good enough for you, here is a great video on YouTube that could be extremely useful.
