removing the engine
This is a guide created by doogie from www.ausmini.com. The original document came from http://www.ausmini.com/forums/viewtopic.php?t=45377. Please proceed at your own risk.
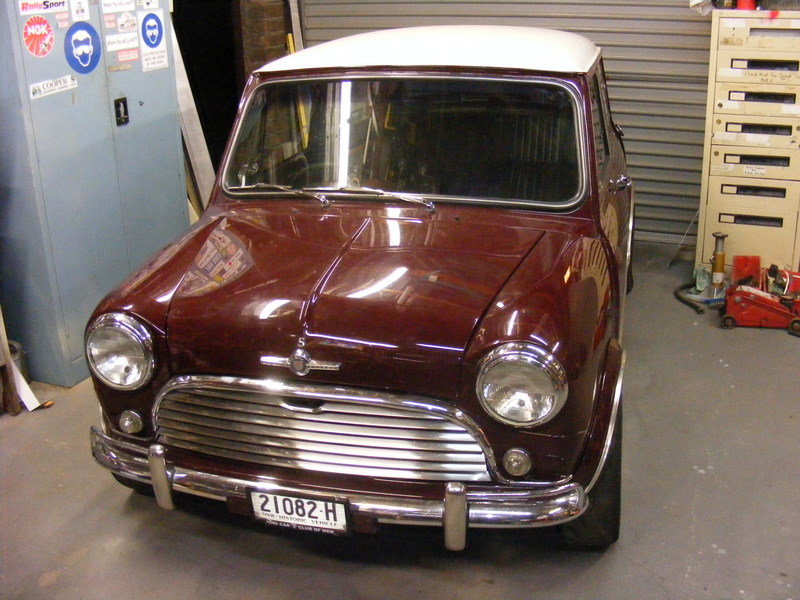
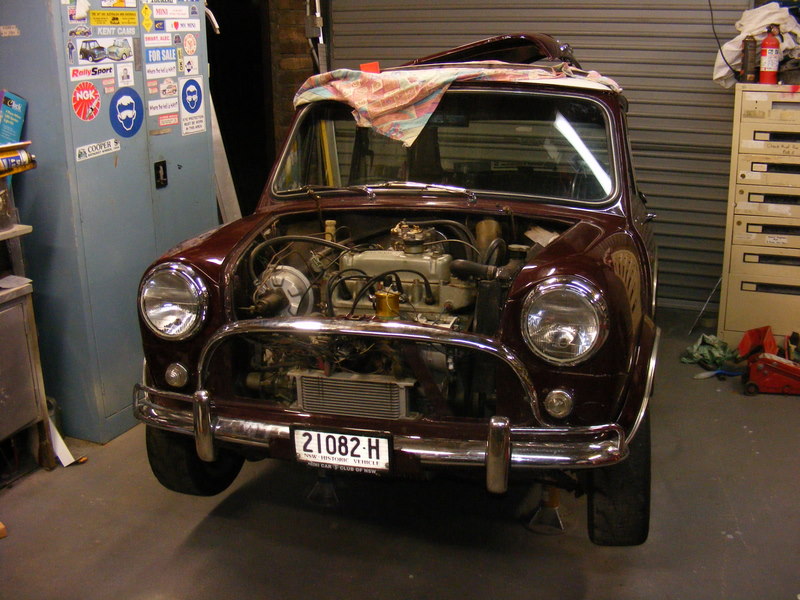
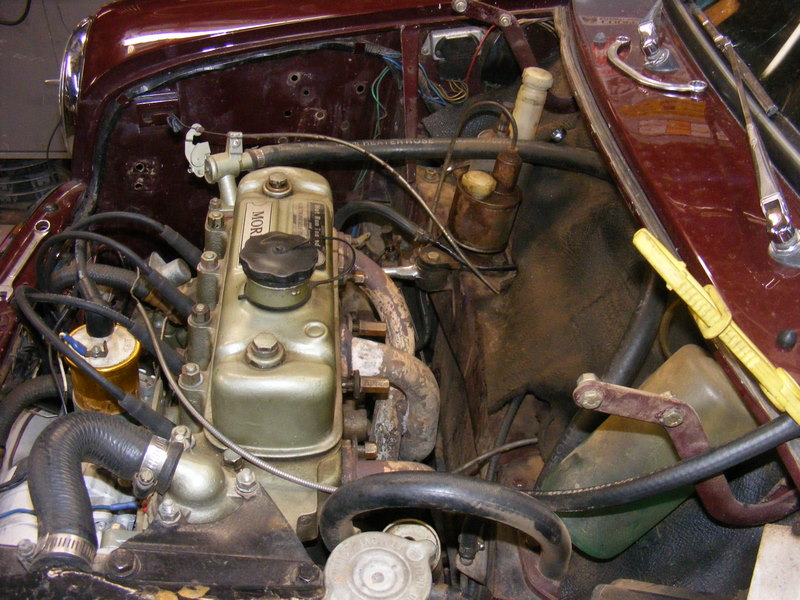
The victim, a Mk1 Cooper S
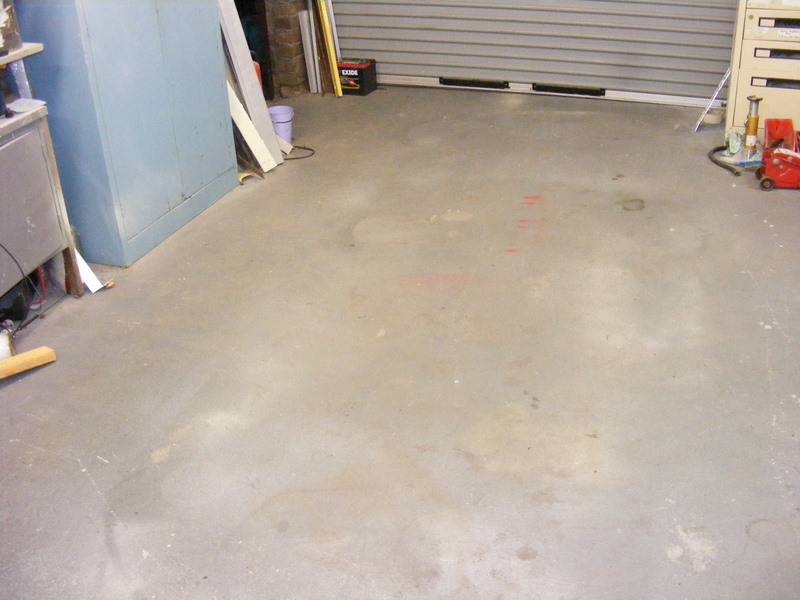
Try to have a tidy work area, spend 1/2 hour cleaning up & sweeping the floo
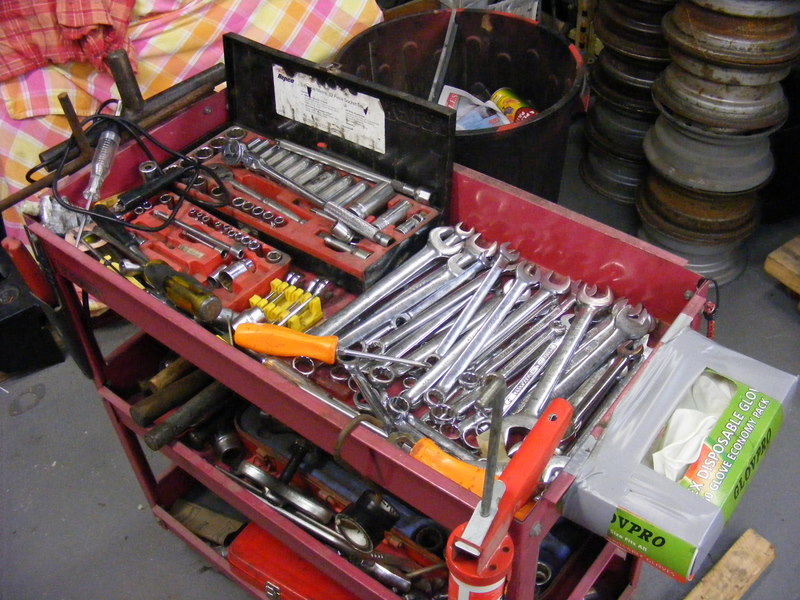
I like to have my tools clean & organise
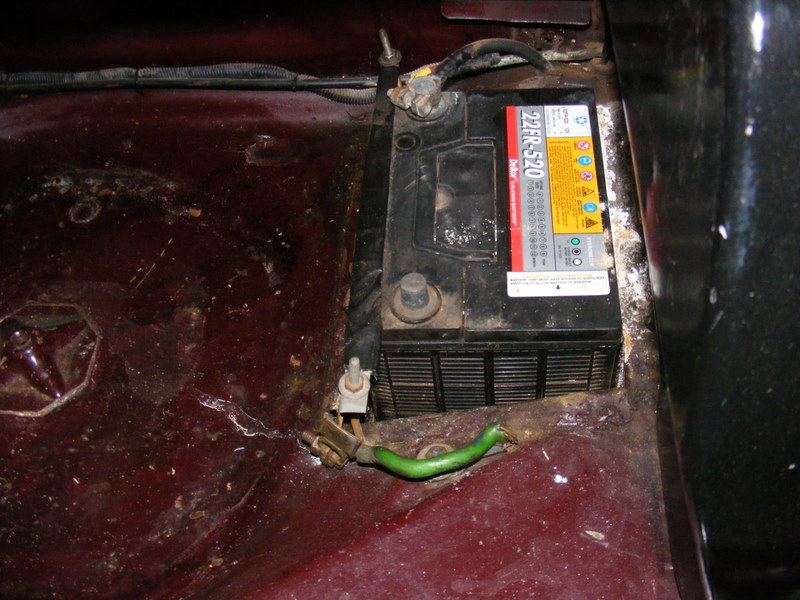
Now onto the process, step 1 disconnect the battery

Open the bonnet & remove the 4 7/16 headed nuts on the bonnet hinges, tip put some sheet foam or a folded up rag under the corners of the bonnet to prevent scrathes
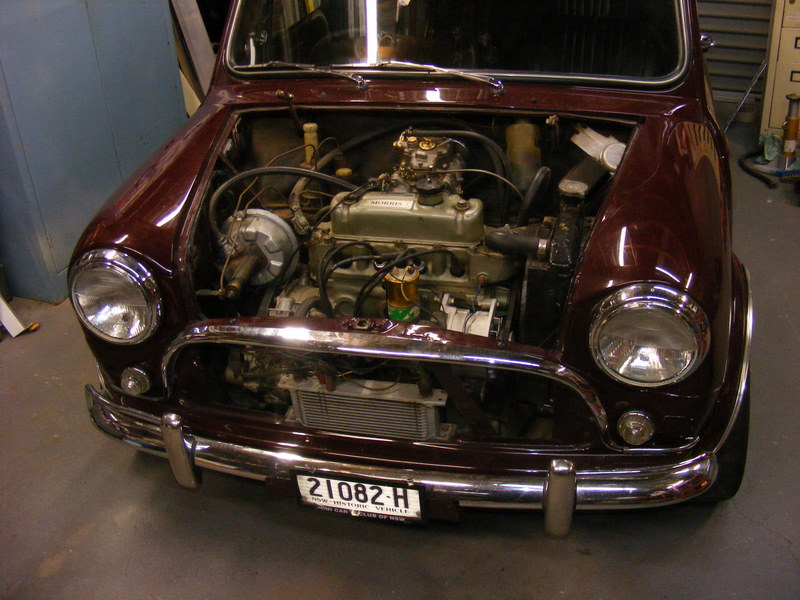
Remove the grill, on round noses there's 4 screws, on a Clubman there 7. Also remove the bonnet closing panel on a Clubman
Safely jack up the car & put study axles stands under & lower onto stands
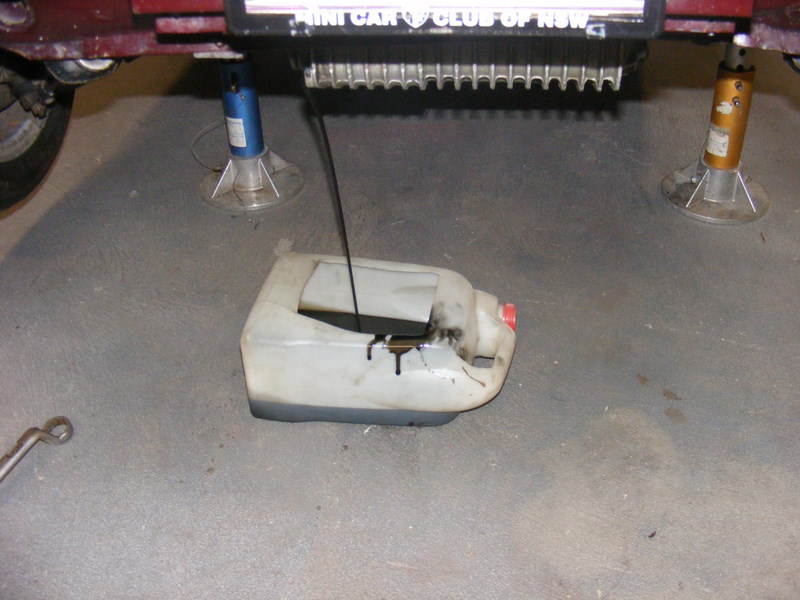
Drain engine oil, sump plug is located on the front left of the engine, a 15/16 socket or spanner is needed
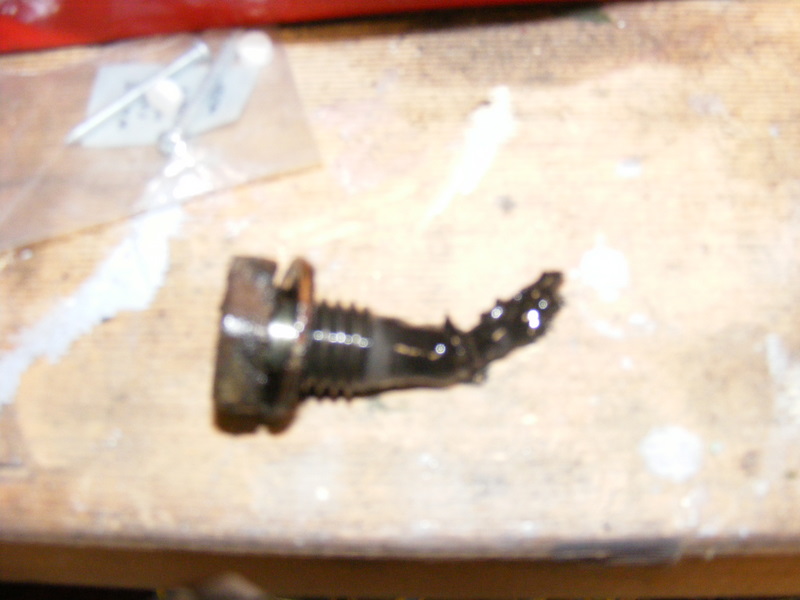
This is not uncommon, the sump plugs are magnetized so stray bits of metal stick to it
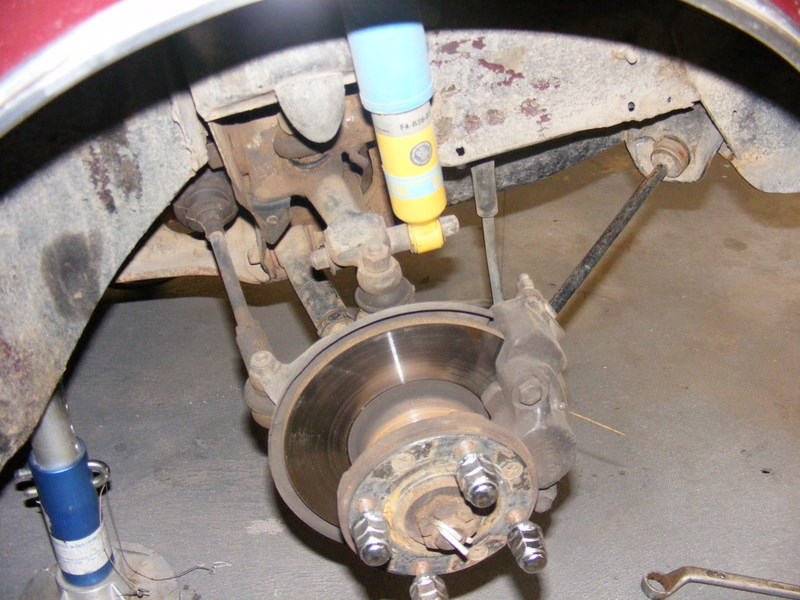
Remove the front wheels

If fitted remove the brake booster & steel brake pipes that plumb it to the brake system
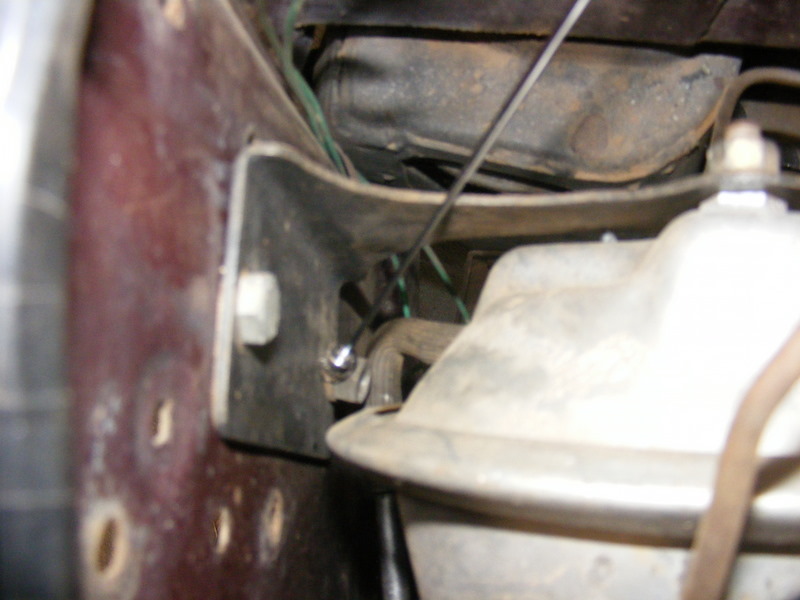
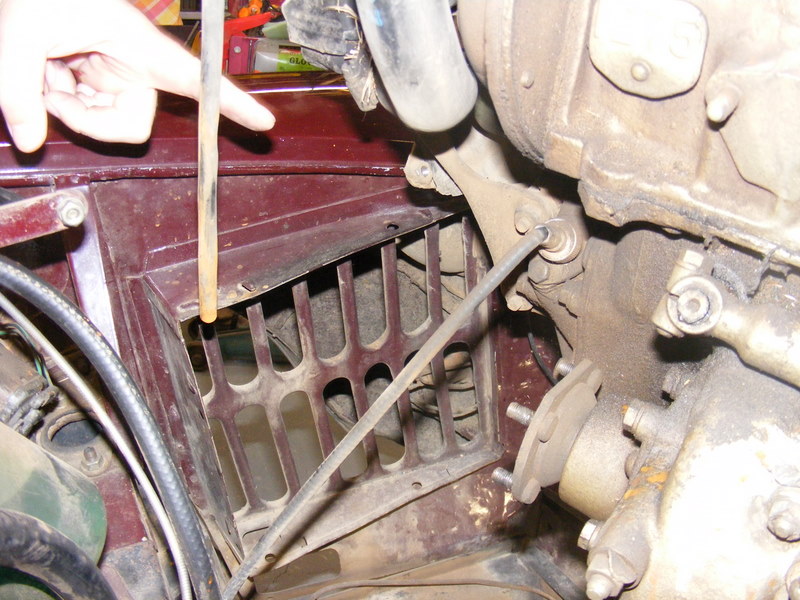
A magnet on a stick helps to avoid dropping nuts into engine bay
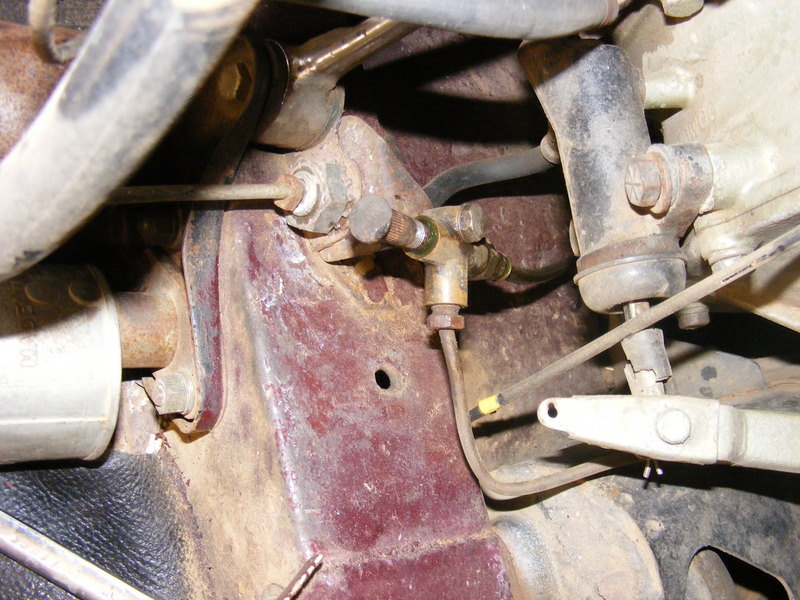
Tip, a wheel stud screwed into the master cylinder & 3 way junction stops brake fluid loss
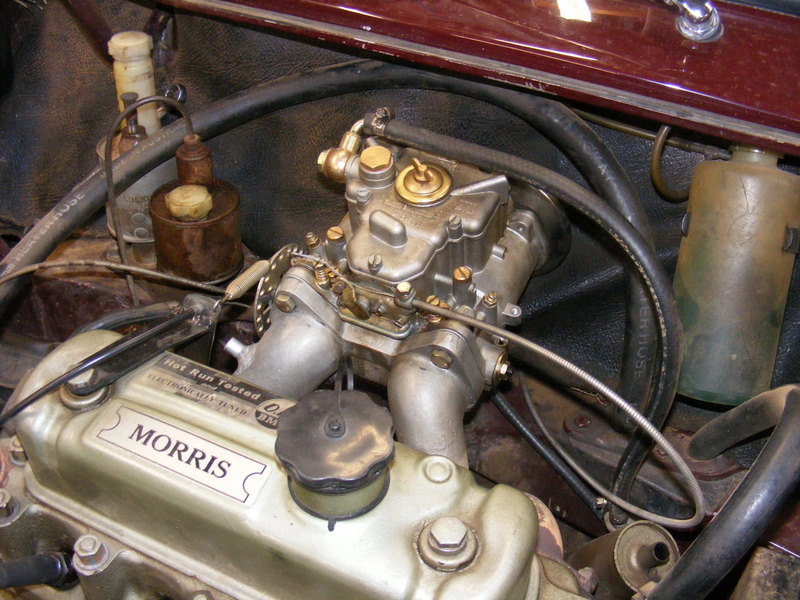
Now for the carb, if fitted with a weber, remove it complete with the manifold. If a single or twin SU's are fitted, remove the necks off the carbs
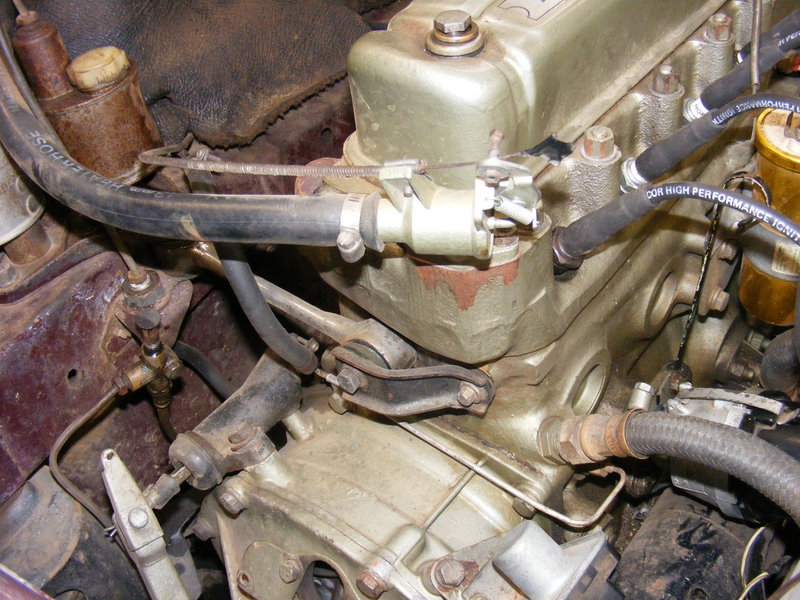
Undo top engine steady bolts & swing steady out of the way, Note some minis have another steady on the right side, remove this one
Disconnet the battery cable & wires from the solenoid. If needed, mark the wires to where they go, or take pics before disconnecting, disconnect temp gauge, alternator & coil wires
If fitted disconnect oil pressure gauge piping & move aside
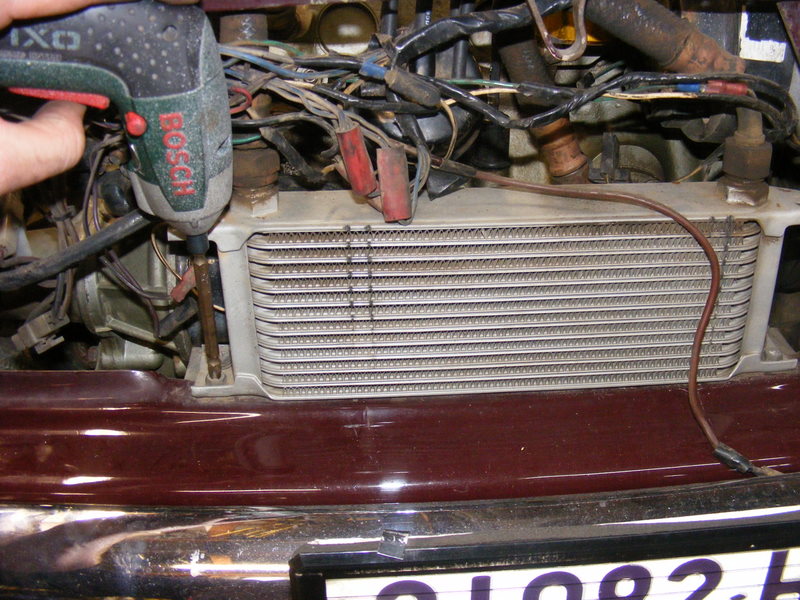
If fitted remove oil cooler & piping
Unbolt clutch slave master cylinder & move aside (No Picture)
Undo both heater hoses & move aside (No Picture)
Unbolt clutch slave master cylinder & move aside (No Picture)
Undo both heater hoses & move aside (No Picture)
Move under the car...
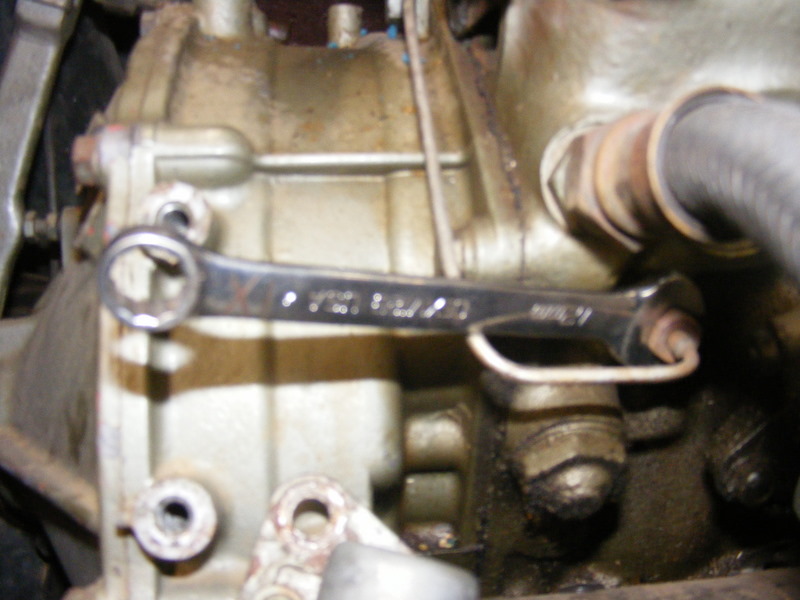
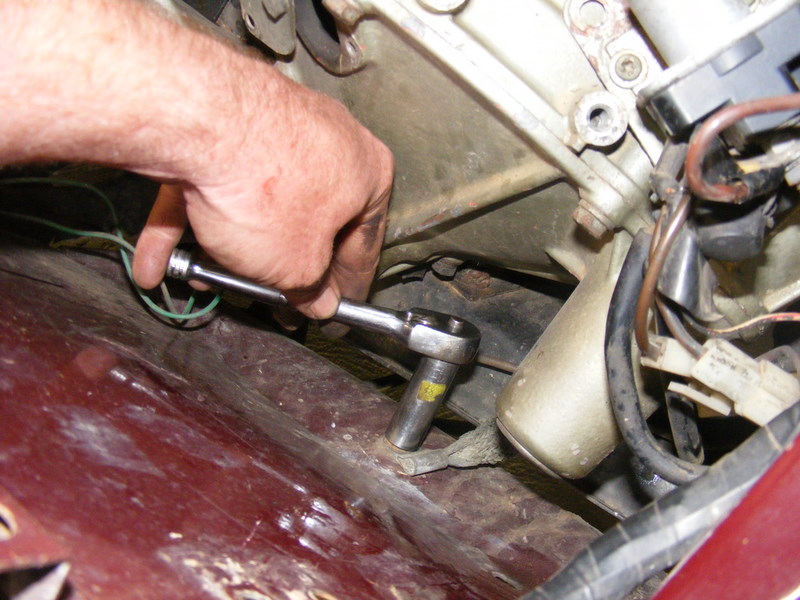
On remote gear boxes undo the 4 9/16 headed bolts & slip of remote housing
For rod change selector, put the car into reverse & tap the roll pin out of the sleeve, then remove the 1/2 headed bolt from the upper arm & remove (No Picture)
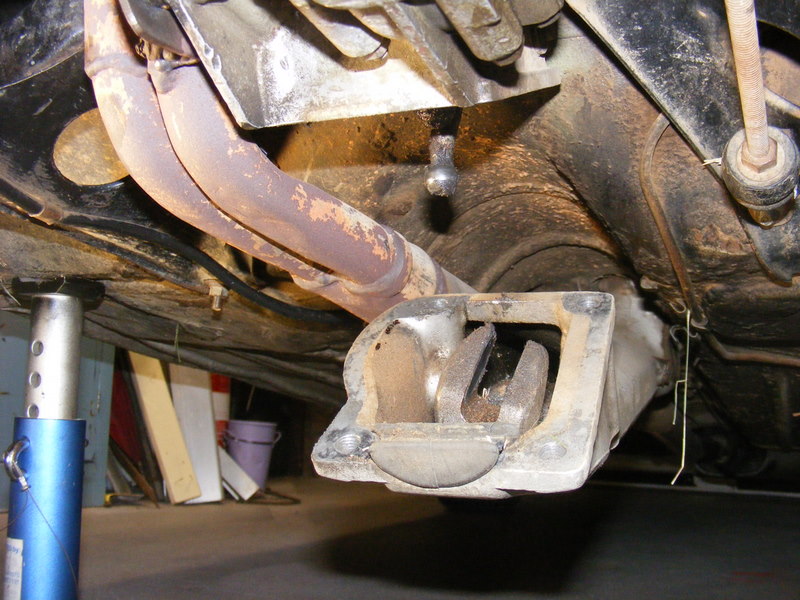
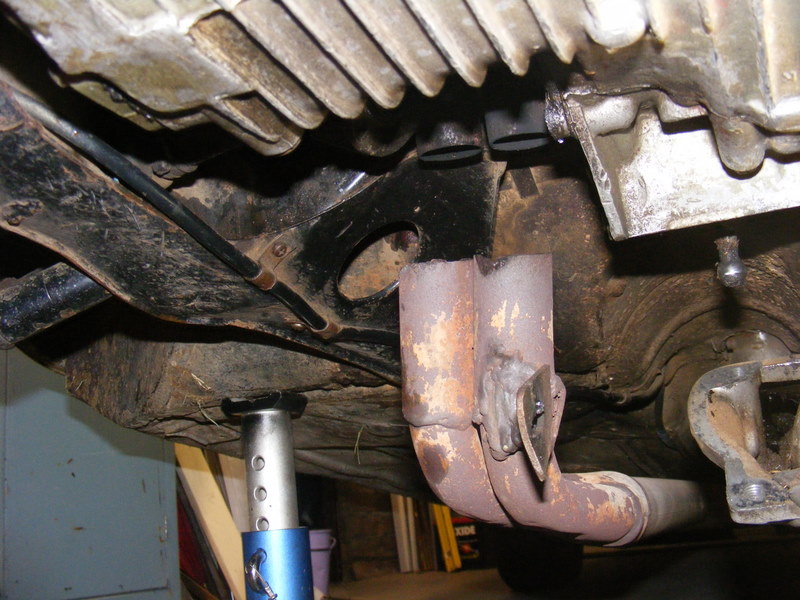
There are many styles of extractors all have the own way of coming apart I'm sure you can work out how to get them apart, on a standard manifold, remove the 2 bolts & the clamp & separate the manifold & exhaust
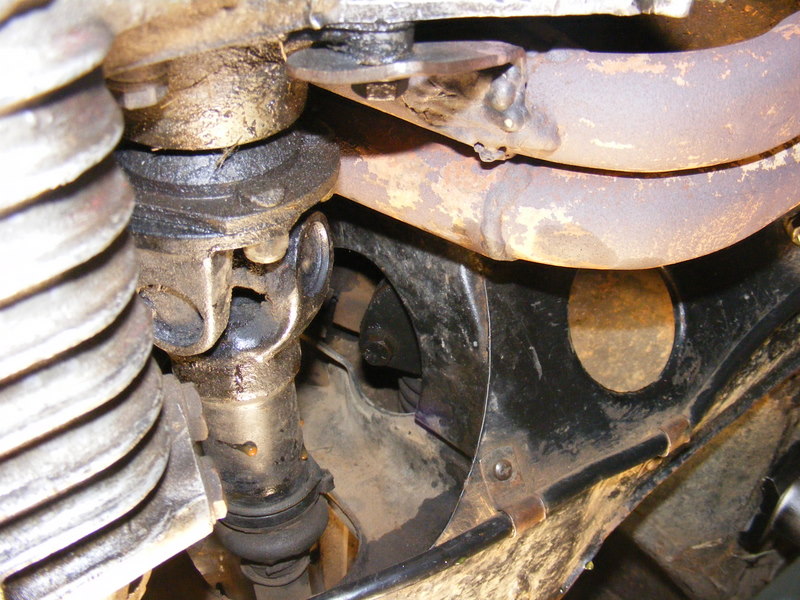
Universals, there are 3 types of mini universals, hardy spicers, rubber style & pot joint
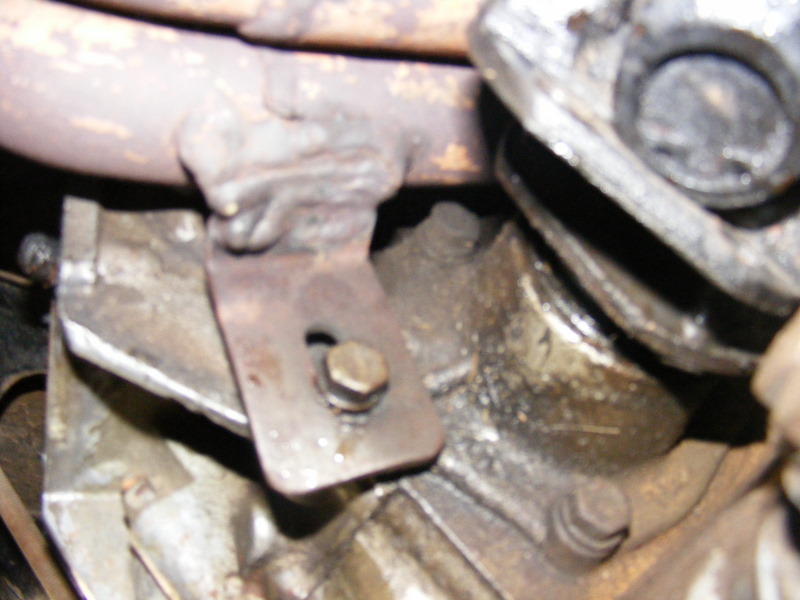
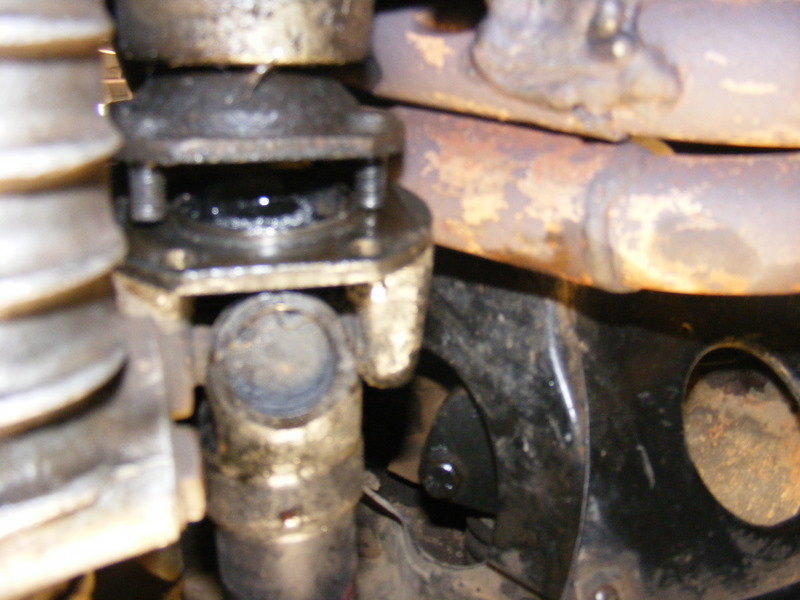
In this cars case it has hardy spicer uni's, undo the 4 1/2 headed nylon nuts & move uni aside.
In this cars case it has hardy spicer uni's, undo the 4 1/2 headed nylon nuts & move uni aside.
Rubber uni style, undo the 8 1/2 headed nuts, remove the U bolts & uni (No Picture)
Pot joint, you need to undo & break the taper on the bottom ball joint & remove ball joint from control arm & pop driveshaft out of the pot joint (No Picture)
Pot joint, you need to undo & break the taper on the bottom ball joint & remove ball joint from control arm & pop driveshaft out of the pot joint (No Picture)
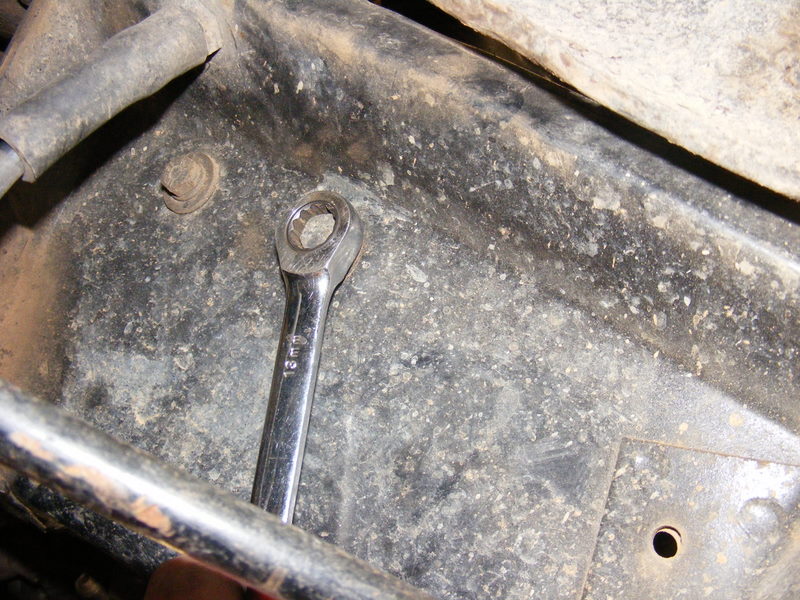
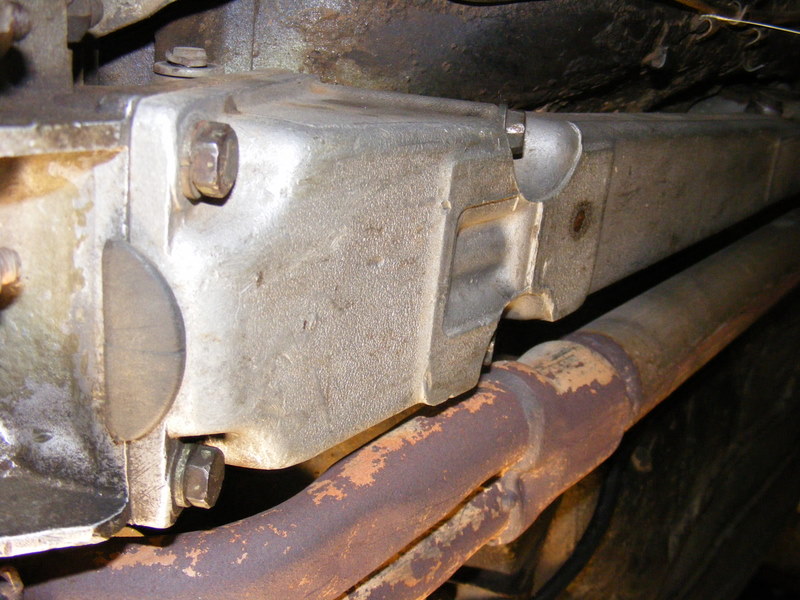
Undo engine mounts
Back to the top...
Undo the earth strap
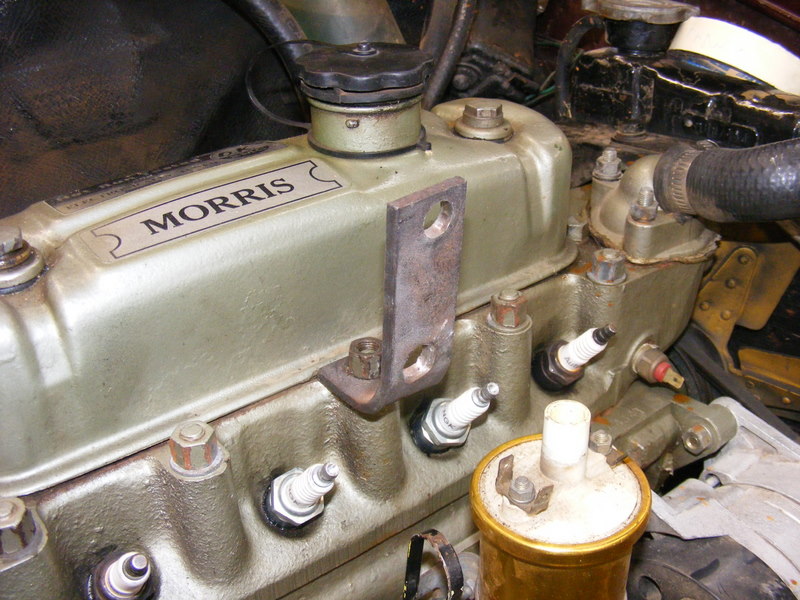
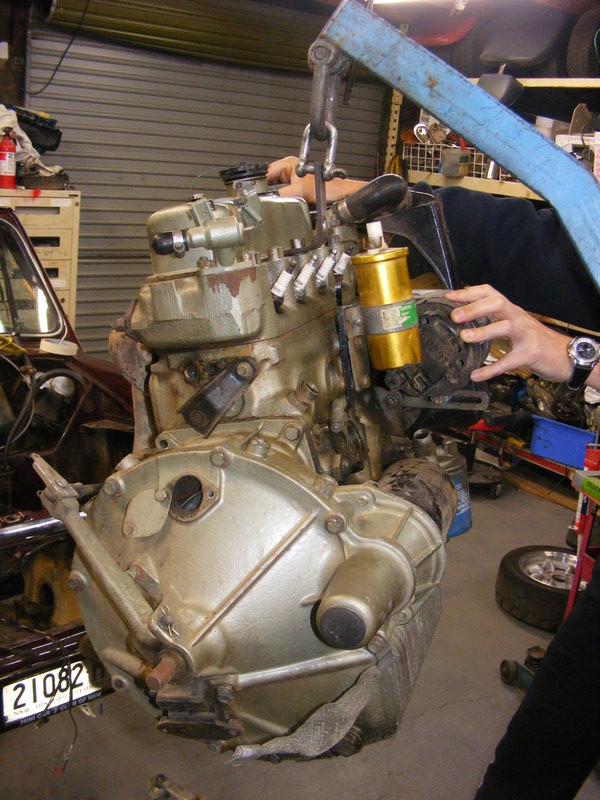
Attach your engine lifting bracket
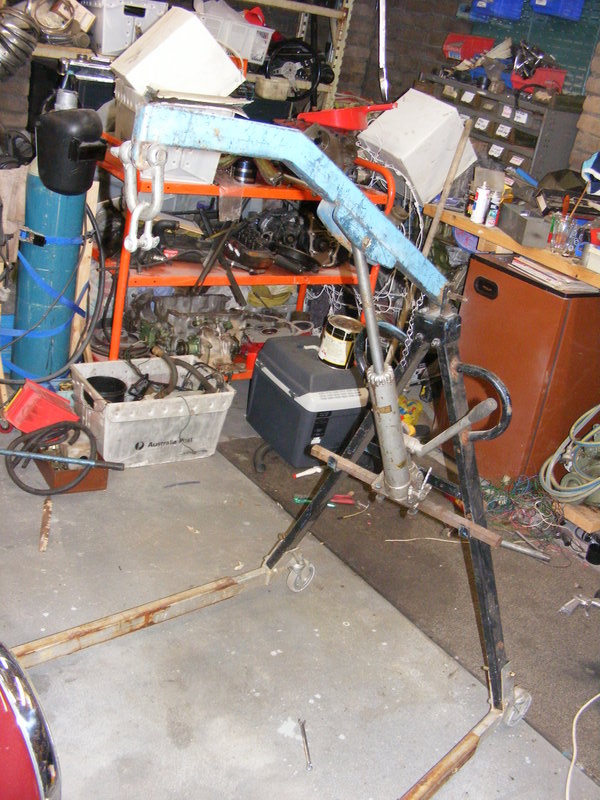
Engine is ready to come out now, attach your lifter, block & tackle etc etc
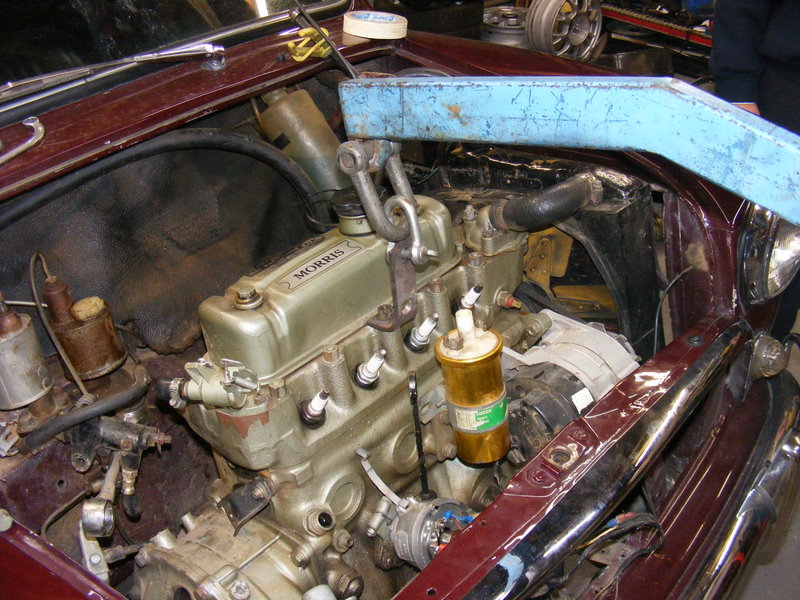
Begin lifting the engine, on remote style gearbox you need to tilt the engine as it lifts to clear the firewall
Once up high enough, disconnect speedo cable
Engine should be clear of car now
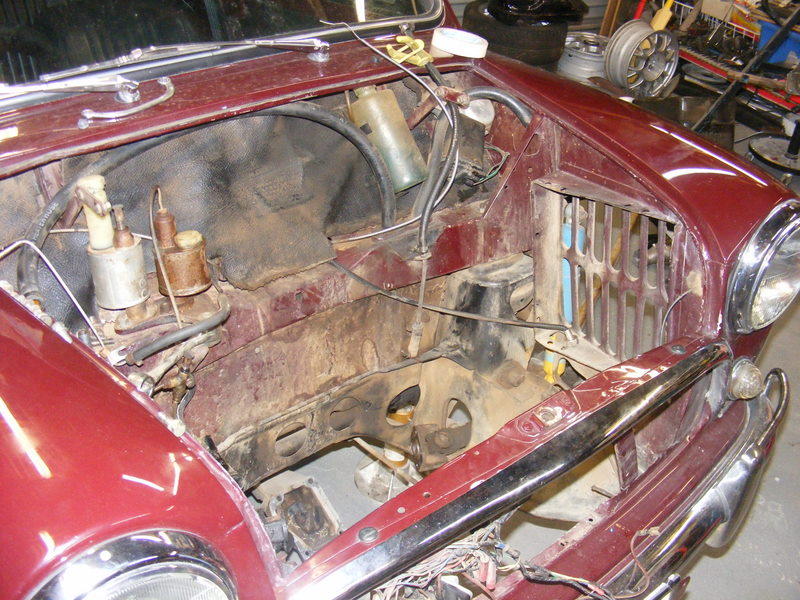
This is roughly what you sholud be left with
Depending on how many times you've done this, it can take anywhere from 1/2 hour to 10 hours.
Depending on how many times you've done this, it can take anywhere from 1/2 hour to 10 hours.
