dipping wheels
Dipping is a term commonly used to describe the practice of spraying items with a rubberized coating called PlastiDip. This has become popular in automotive applications recently because of it easy of use, ease of removal and its durability. Most spray paints just chip off after a while and don't look nice after an extended period of time. It also becomes difficult to remove if you decide you no longer like the look or want to repair all those chips. PlastiDip addresses all those issues and more. It's available in a variety of colors although the most popular is the satin black. Recently a number of finishers have been added to their line including a glossifier and a metalizer. These finishes are applied after the item has been coated in color.
PlastiDip can be applied to a variety of surfaces and it's use on cars is only limited by your imagination. Some people have complained that the paint reacts with certain surfaces and has discolored the underlying parts so use with caution. For the purpose of this tutorial, I will talk about dipping the wheels, but the process is similar for any other part. Prepping the surface to be painted is very important and be sure to mask off any areas you don't want covered. The caveat with masking is that because PlastiDip is rubberized, masking tape will not leave a clean line. The paint will stick to the masking tape and the surface you are intending to paint and the coating will tear when you remove the tape. PlastiDip works best where there is a natural break like a body line or edge.
Supplies:
1. Wheel Brush
2. Wheel cleaner or a degreaser
3. Pre-paint or alcohol
4. PlastiDip
5. Newspaper
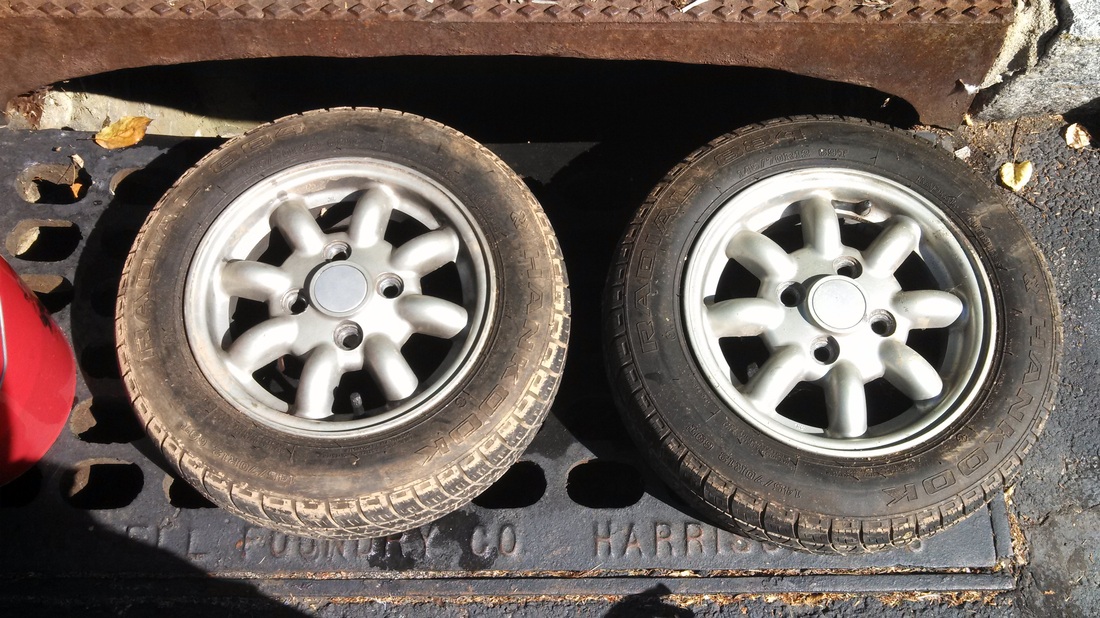
1. Thoroughly clean your wheels to remove any dirt, grease, brake dust and grime. Any residue left on the wheels will result in bubbling of the PlastiDip where it can't adhere to the wheel. I used a bucket of clean water, a wheel brush and some Simple Green. It's a biodegradable, non-toxic cleaner that works really well on wheels.
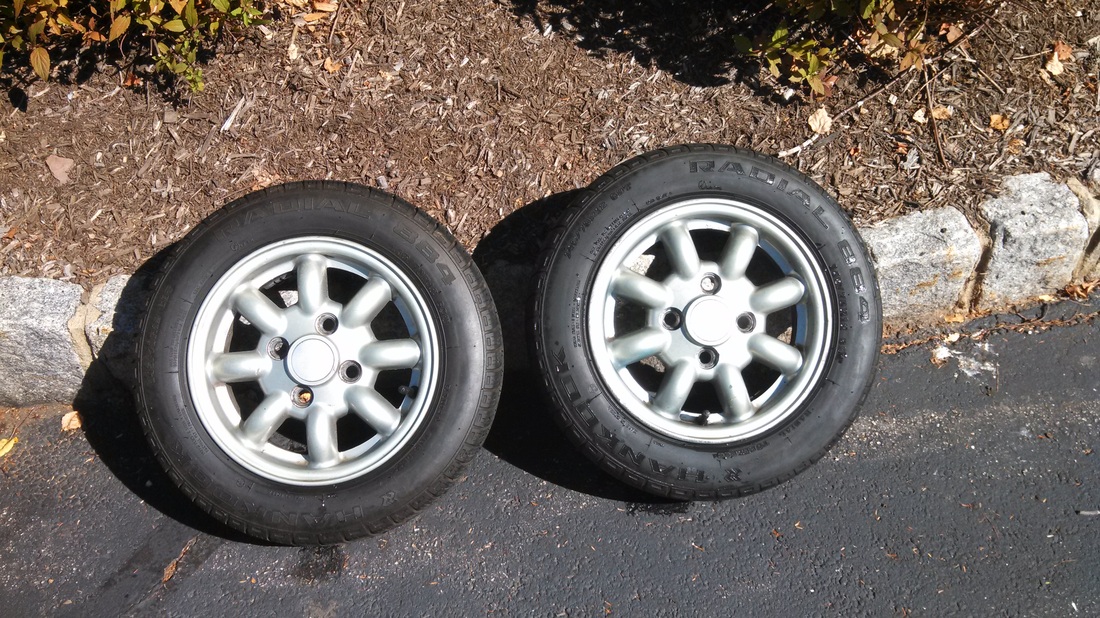
2. After cleaning the wheels, make sure they are PERFECTLY dry. Then use a pre-paint or alcohol to remove any left over residue on the wheels. Again, wipe the wheels dry so that the surface is ready for paint.
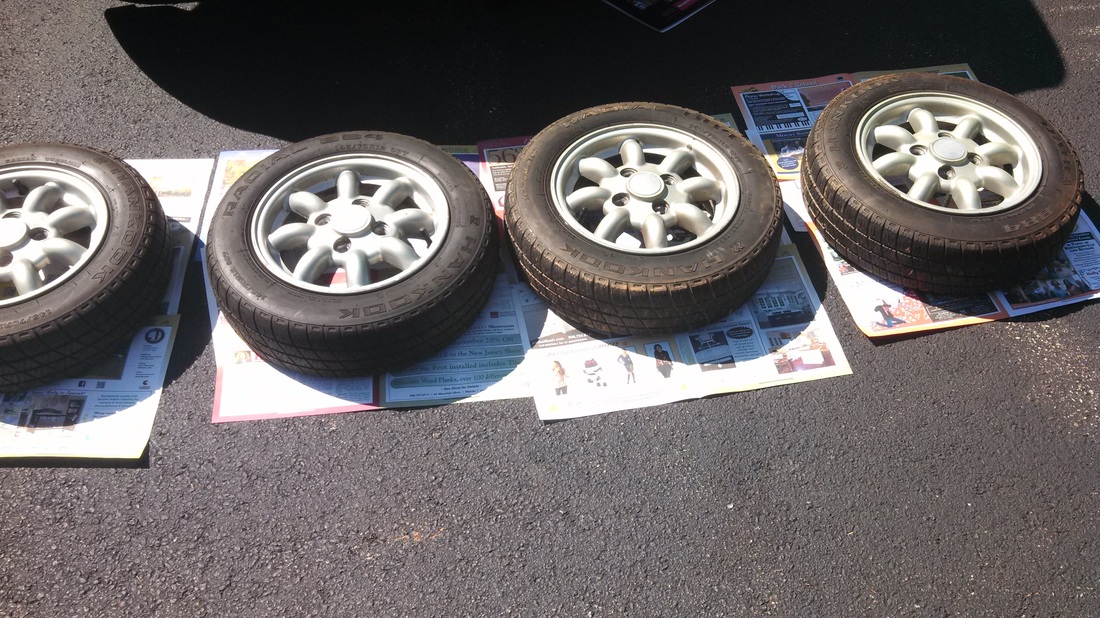
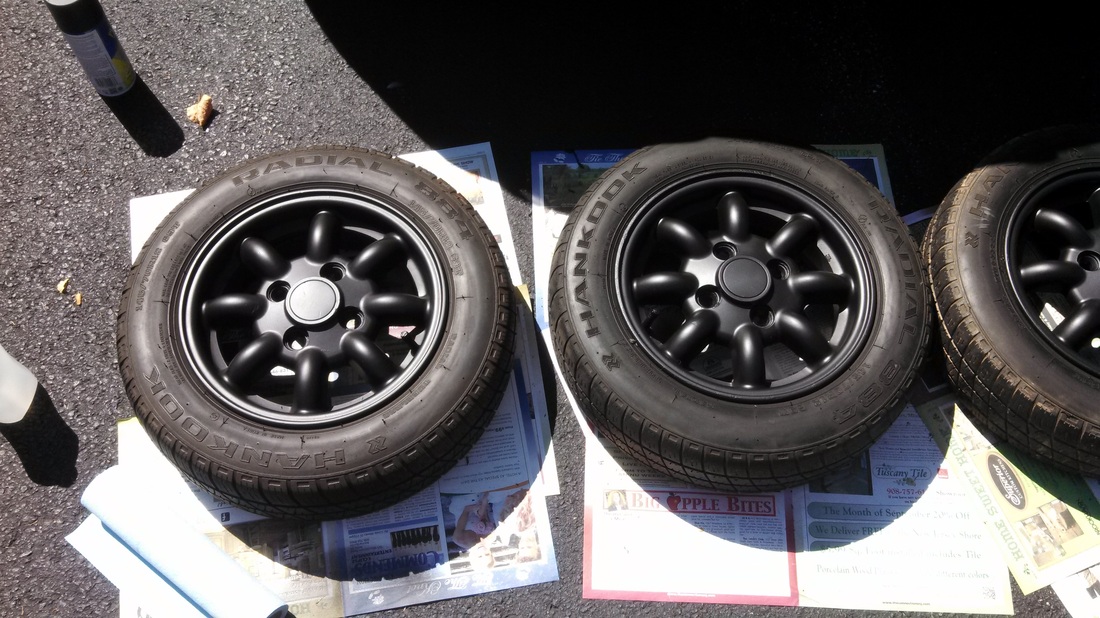
3. Prepare your area for paint. In my case, I was painting the wheels off the car so I made sure I was in a well ventilated area that was protected by newspaper. It is possible to paint your wheels while still on the car. The recommended practice is to thread a cut up garbage bag behind the wheels and use it to cover up the caliper and brake discs. Make sure the bag is NOT touching the wheels because then you run the risk of the bag sticking to the painted wheels and ripping some of your fresh paint off.

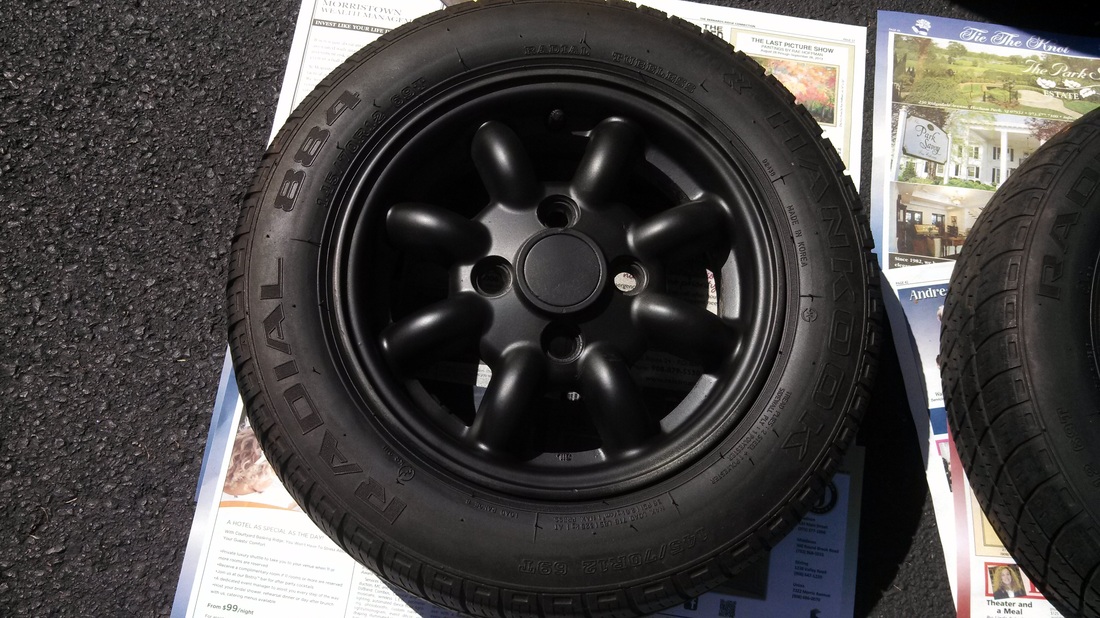
4. Start painting! Your first coat should be very light. The idea is to build up the thickness slowly and avoid runs.

5. Continue to build up the paint slowly and progressively. Let the paint dry between coats for about 10 minutes. You can tell when the paint is dry because it goes from a glossy finish to a satin finish.
This picture shows the wheel after only 2 coats.
This picture shows the wheel after only 2 coats.
6. Make sure you are rotating the wheel as you go to cover all the areas. These wheels are particularly tricky because there are a lot of recesses which requires painting from numerous angles. Continue to cover until you are happy with the coverage.

7. If you are going to spray an enhancer on the Dip, then now is the time. Otherwis, it's on to the best part about PlastiDip. If you notice, I didn't do anything to mask the tire. The edge of the rim acts as a natural breaking point for the PlastiDip and it doesn't stick very well to the tire. Just rub your thumb on the excess paint on the tire and peel it off!
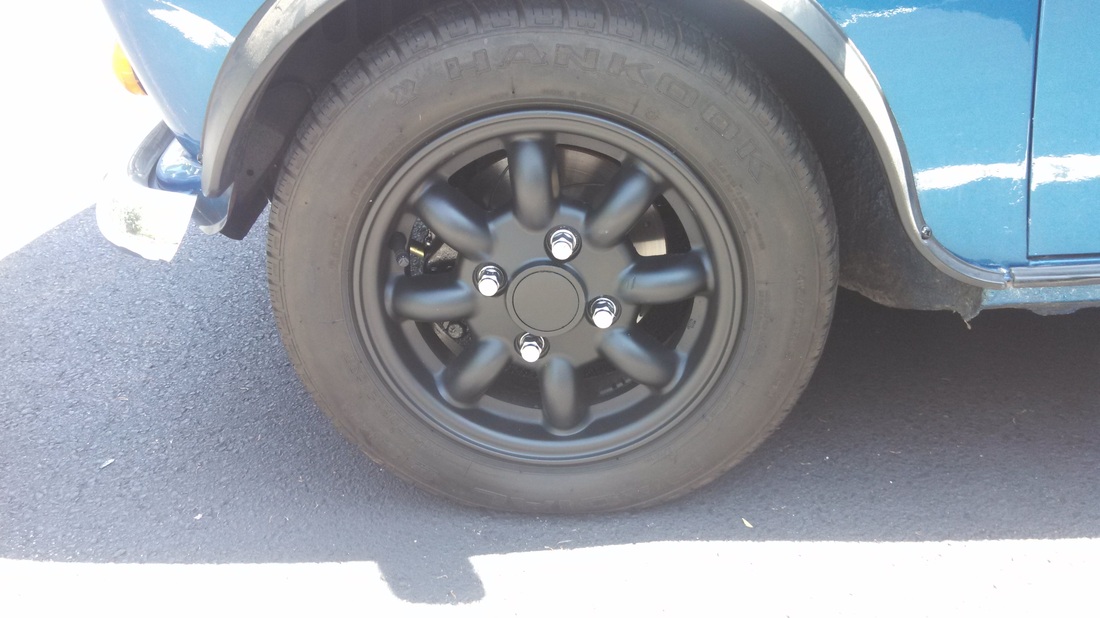
Finished wheels
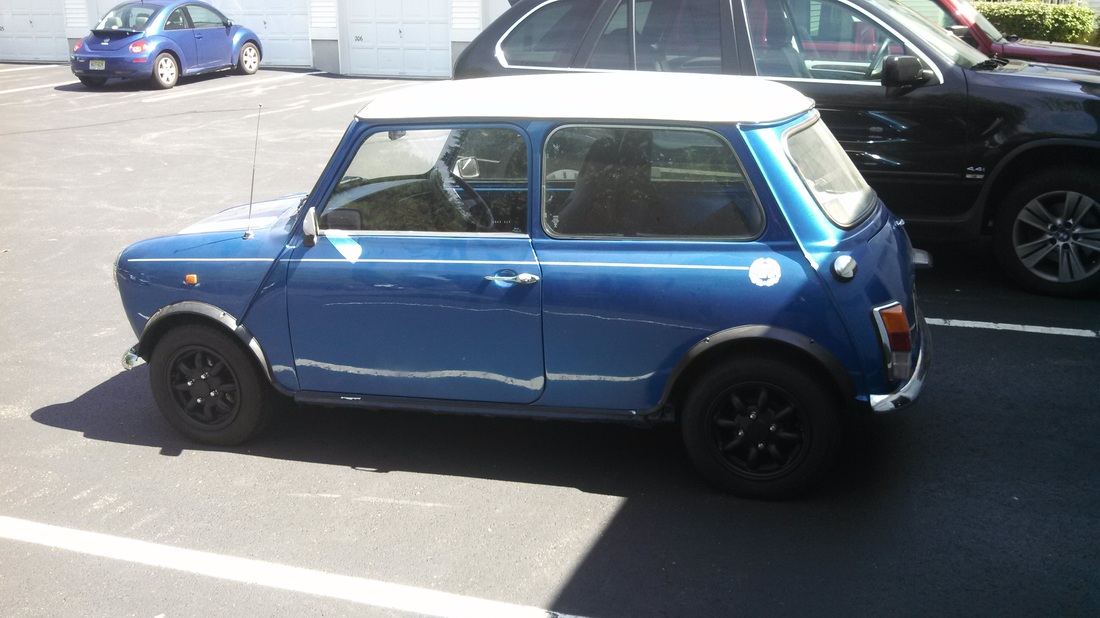
On the Mini
This is an original tutorial from http://classicmini.weebly.com
